Blog Post
A Blog Post is an article on your website.
Blogs are a great way to share your thoughts about your business. It helps keep your customers and readers updated on news related to your business.
In the age of the internet, writing assumes a lot of significance because when people come to your website, they want to read about you and your product.
To access the Blog Post, go to:
Home > Website > Blog > Blog Post
1. How to create a Blog Post
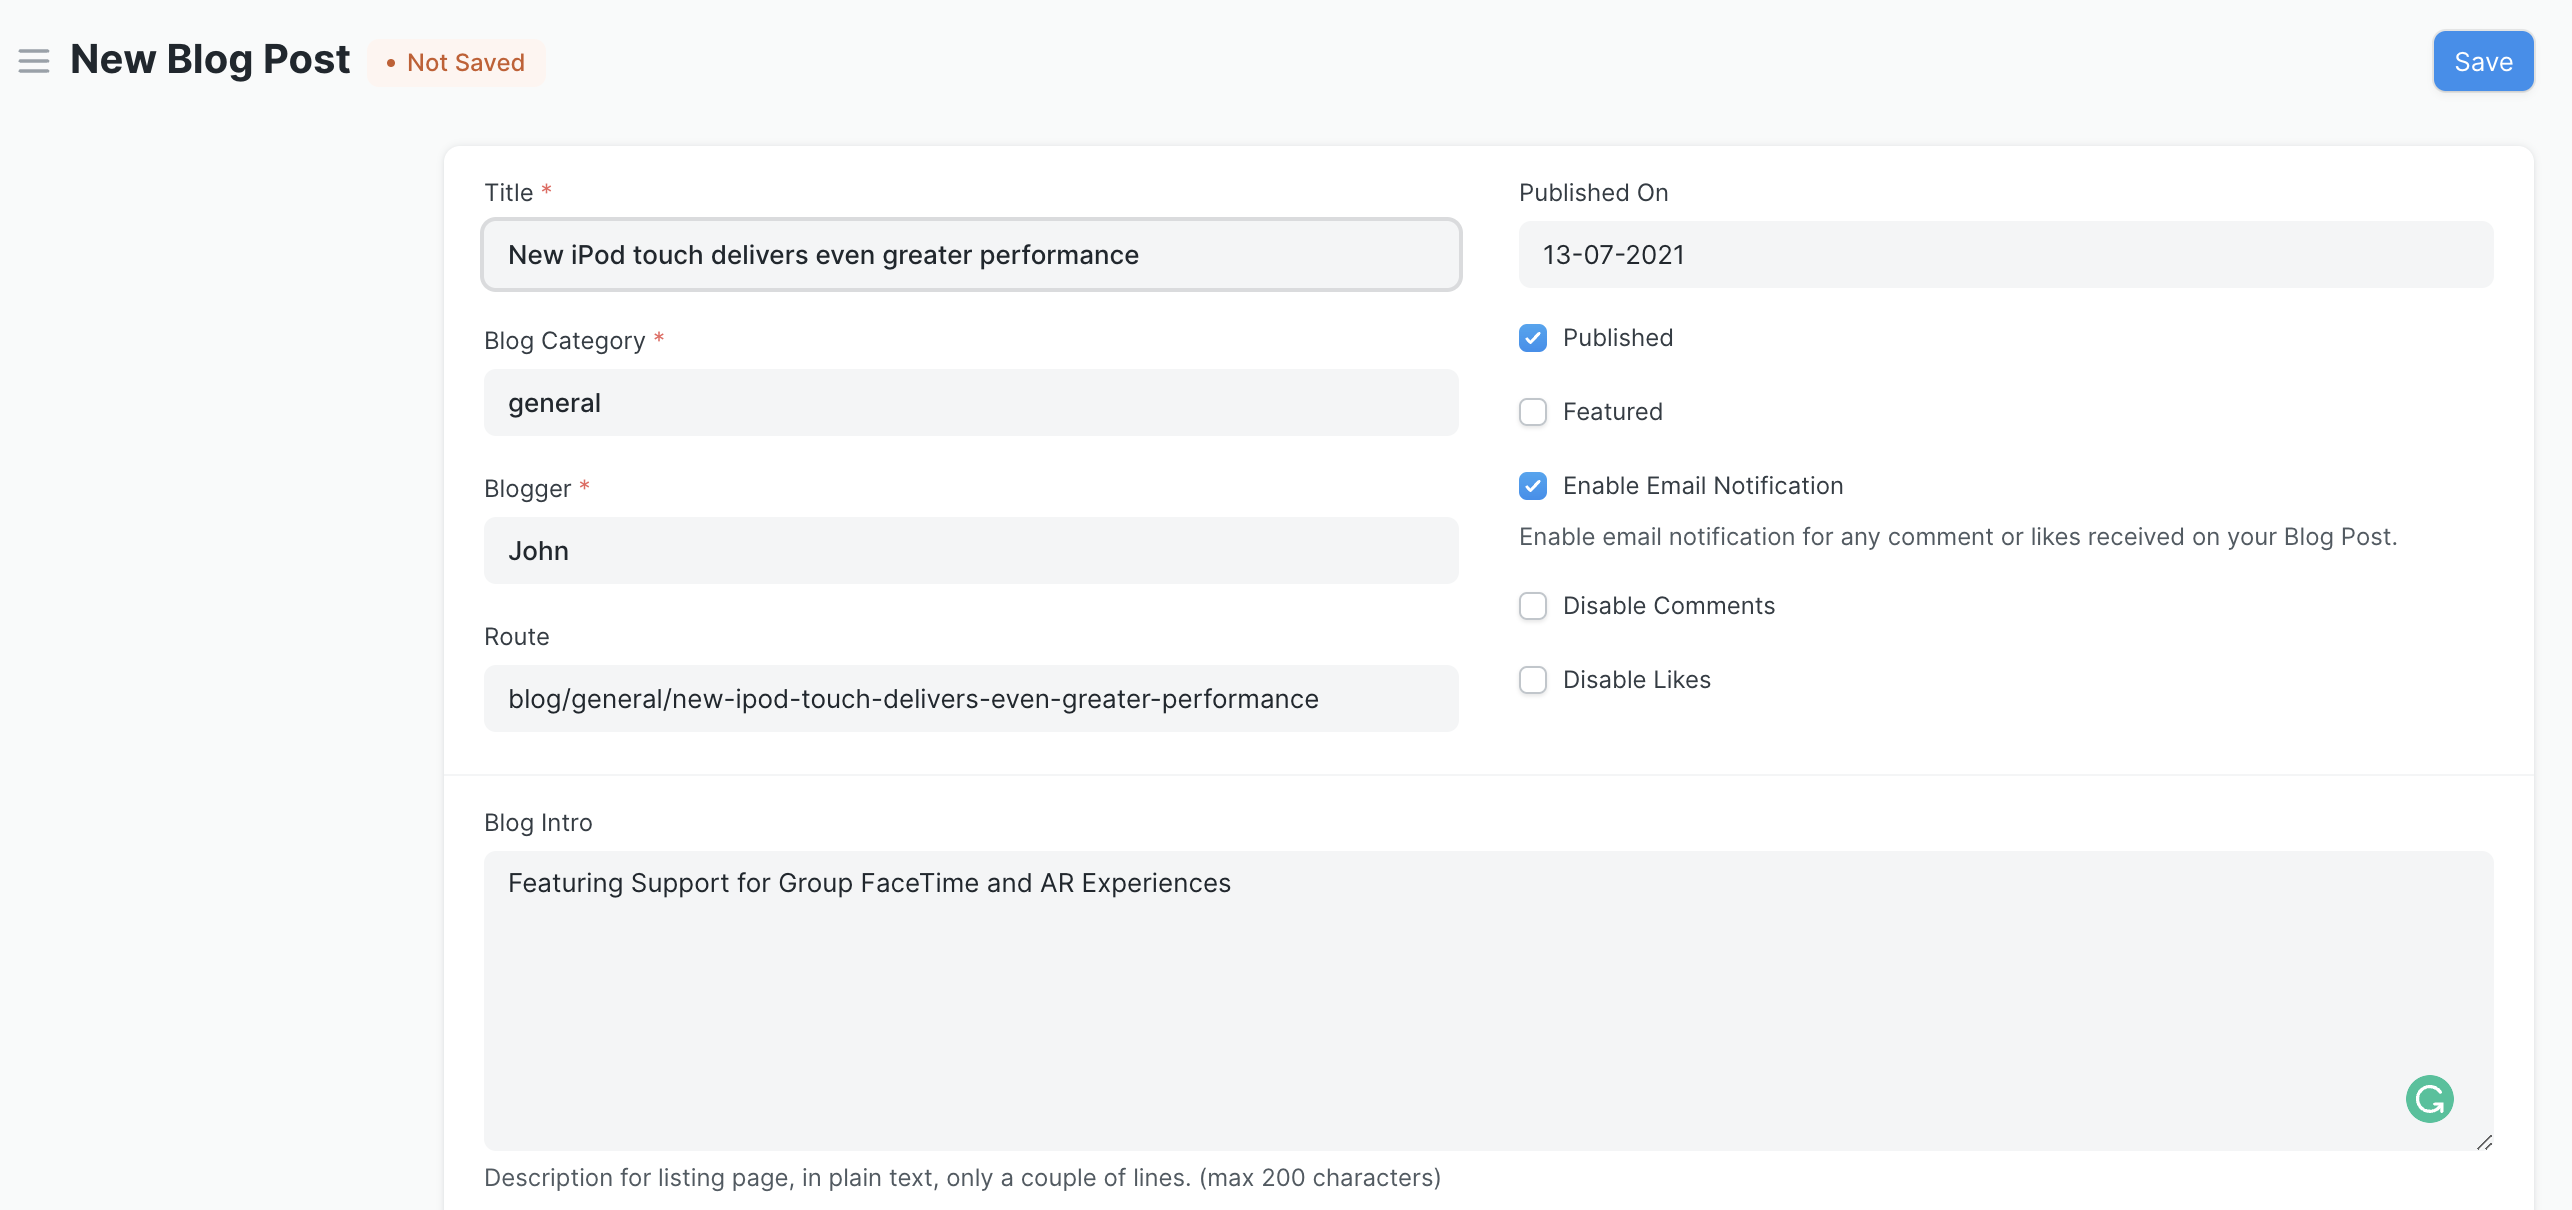
- Go to the Blog Post list and click on New.
- Enter the Title, Blog Category, Blogger, and the Content.
- Enable Published and click on Save.
The Blog Intro is a short description of your blog that appears just after the title and before the content.
You can write your blog in Rich Text, Markdown, or HTML. If you want to write simple content pages, Rich Text and Markdown are great options.
Learn markdown in a few minutes at Mastering Markdown.
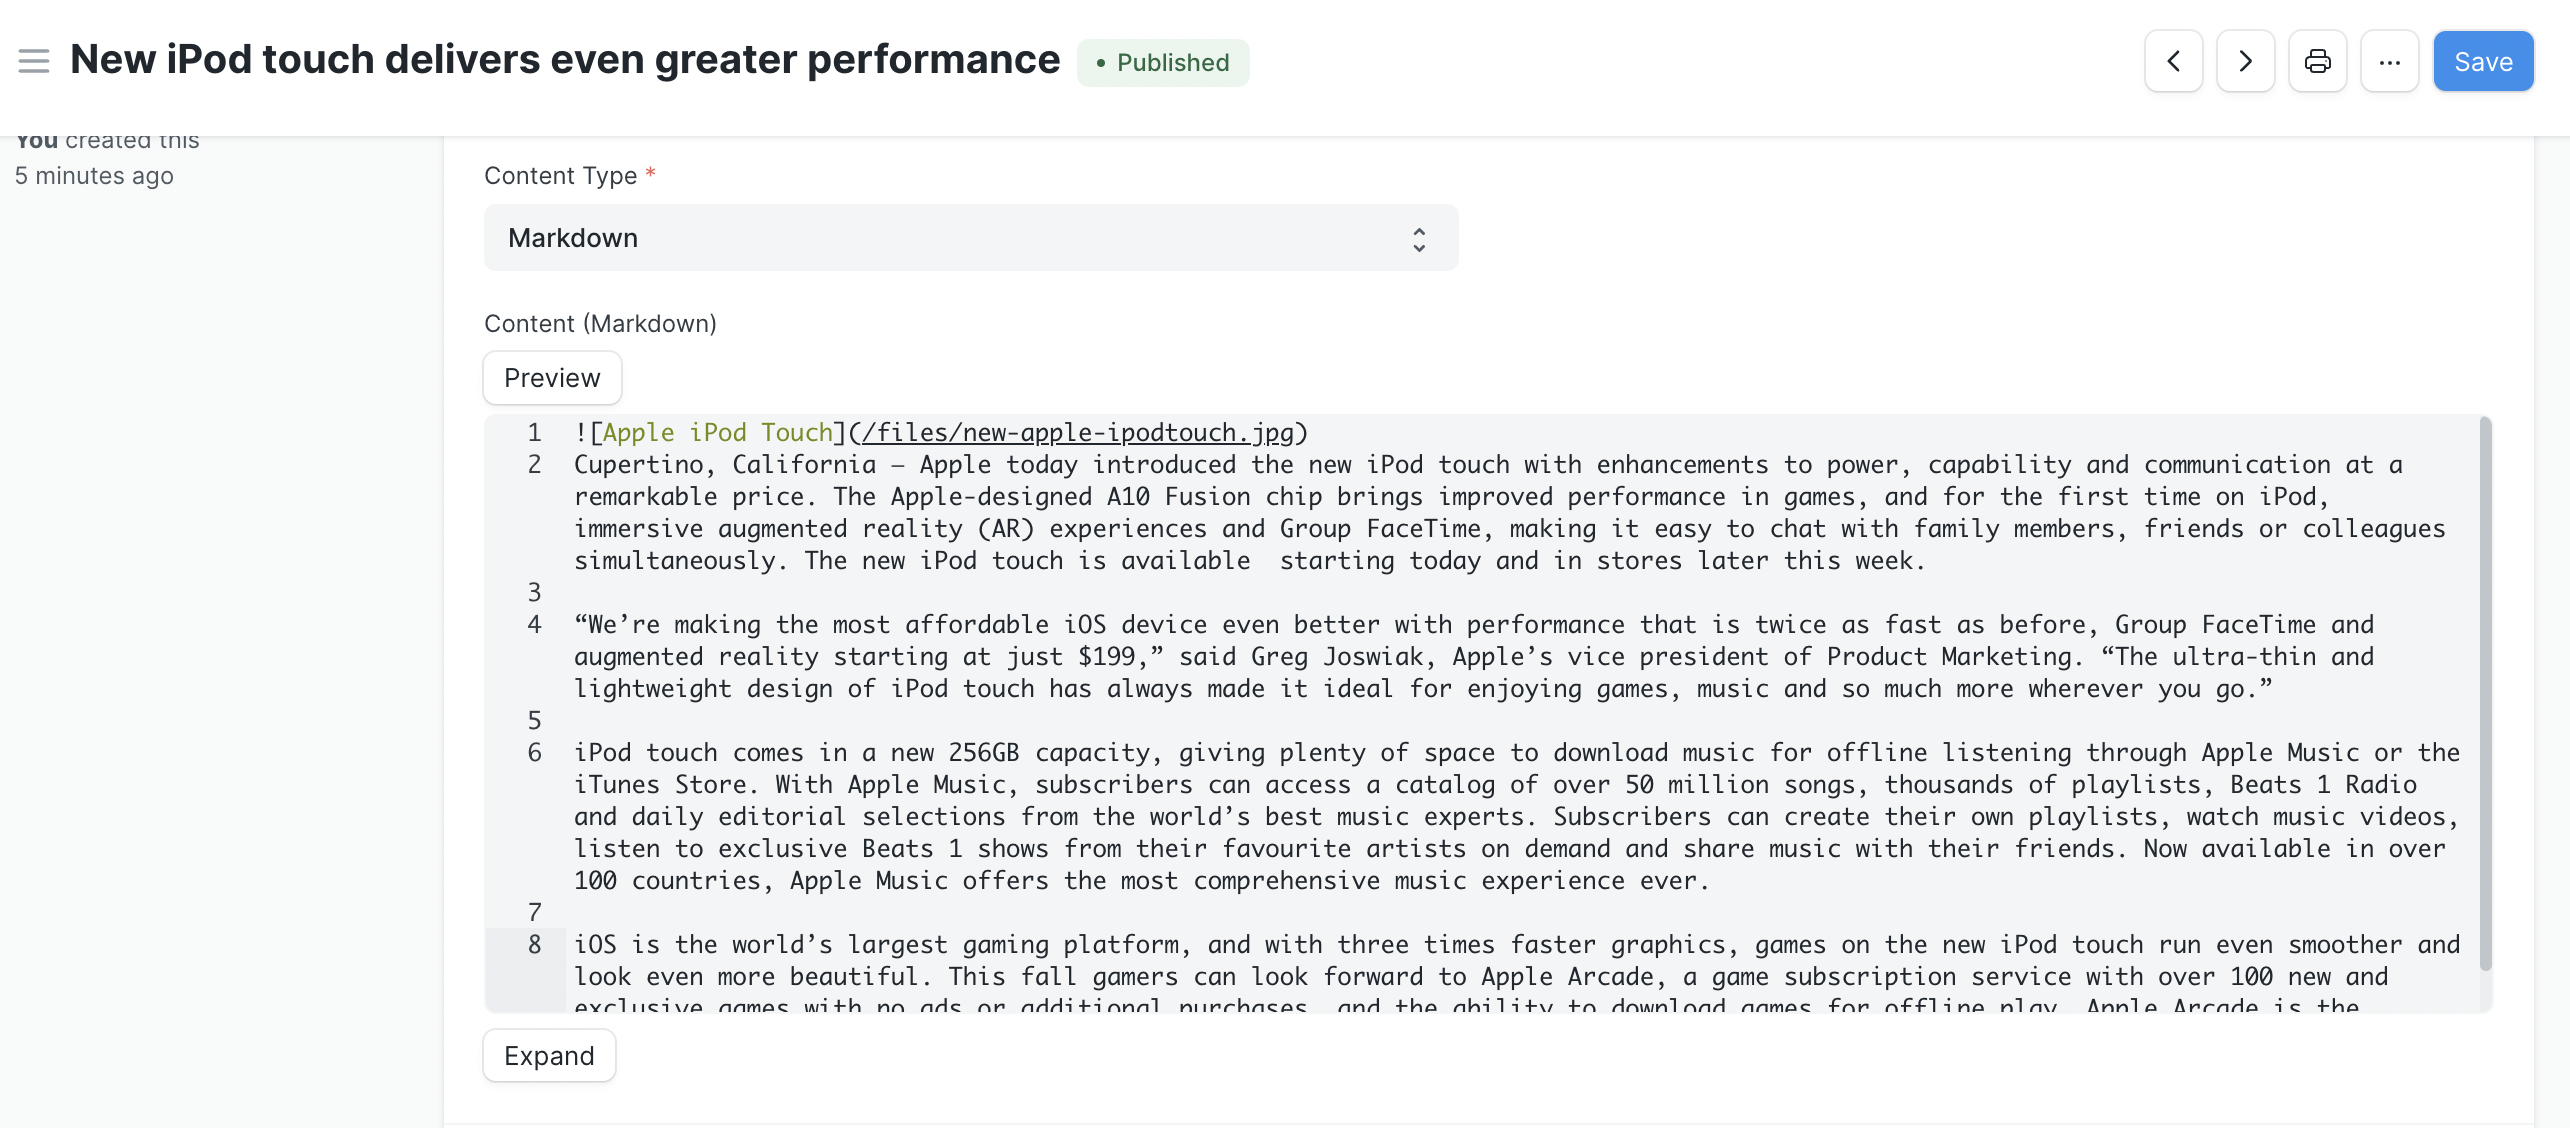 Blog Post in Markdown
View your Blog Post by clicking on See on Website in the sidebar.
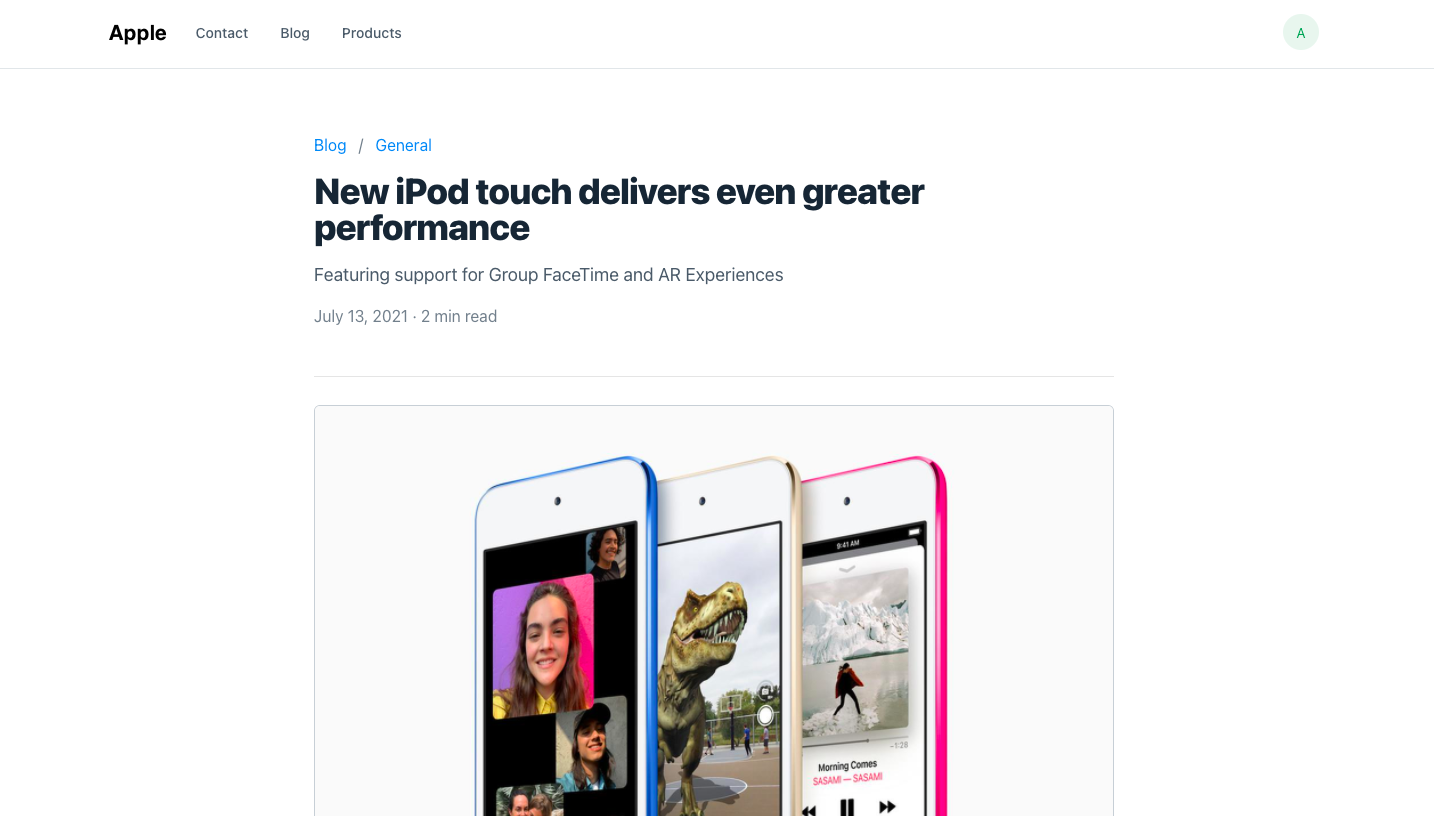 Blog Post
Readers can comment on the blog post. The guest user will have to enter their Name and Email to comment.
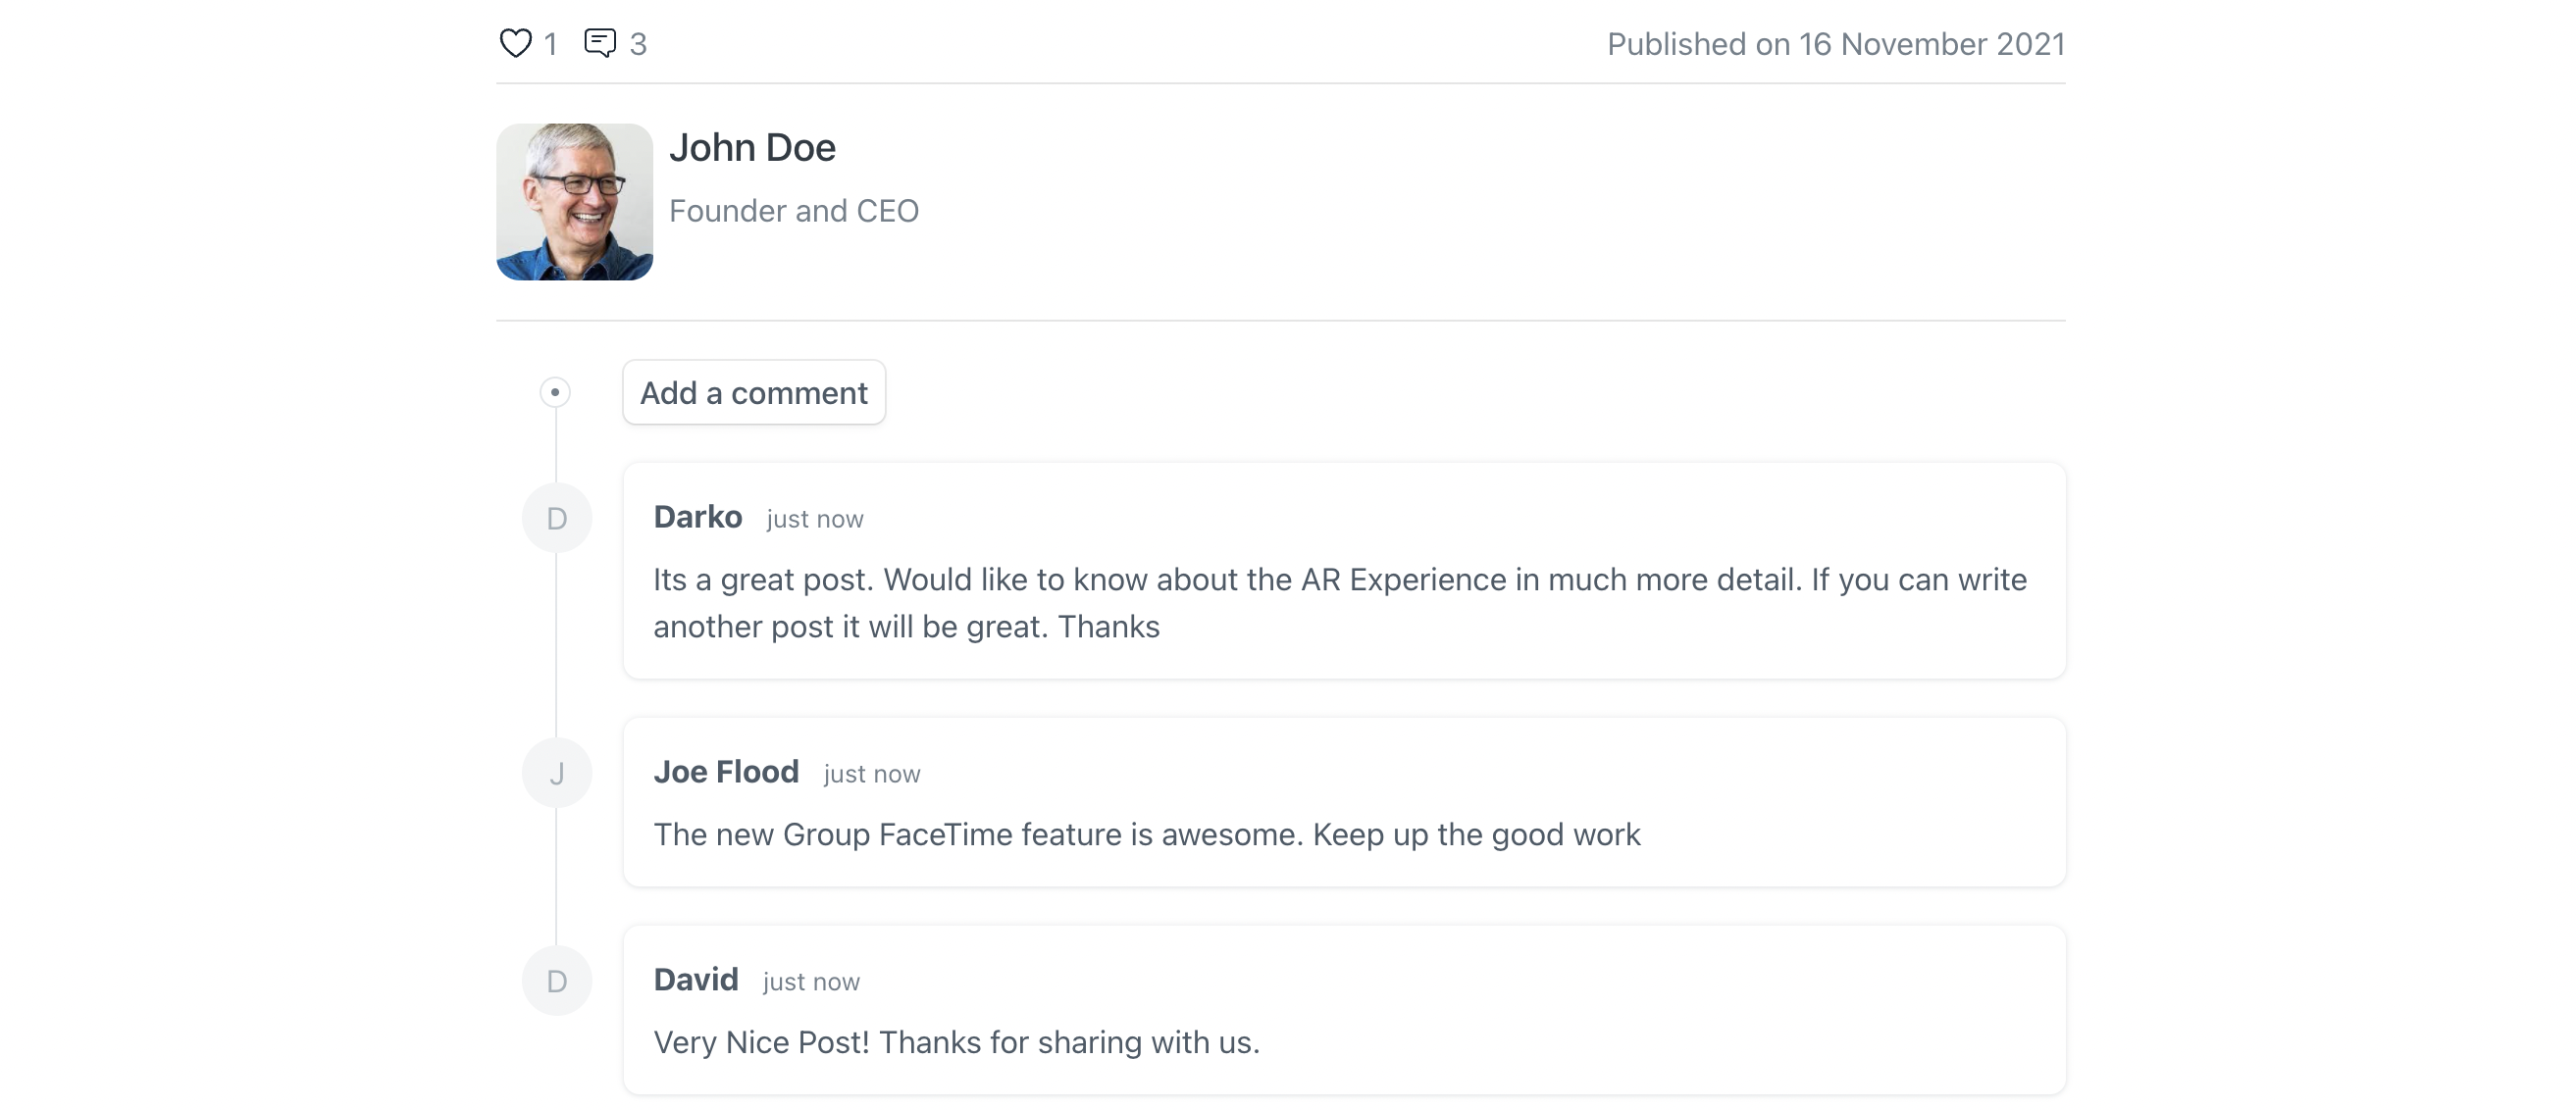
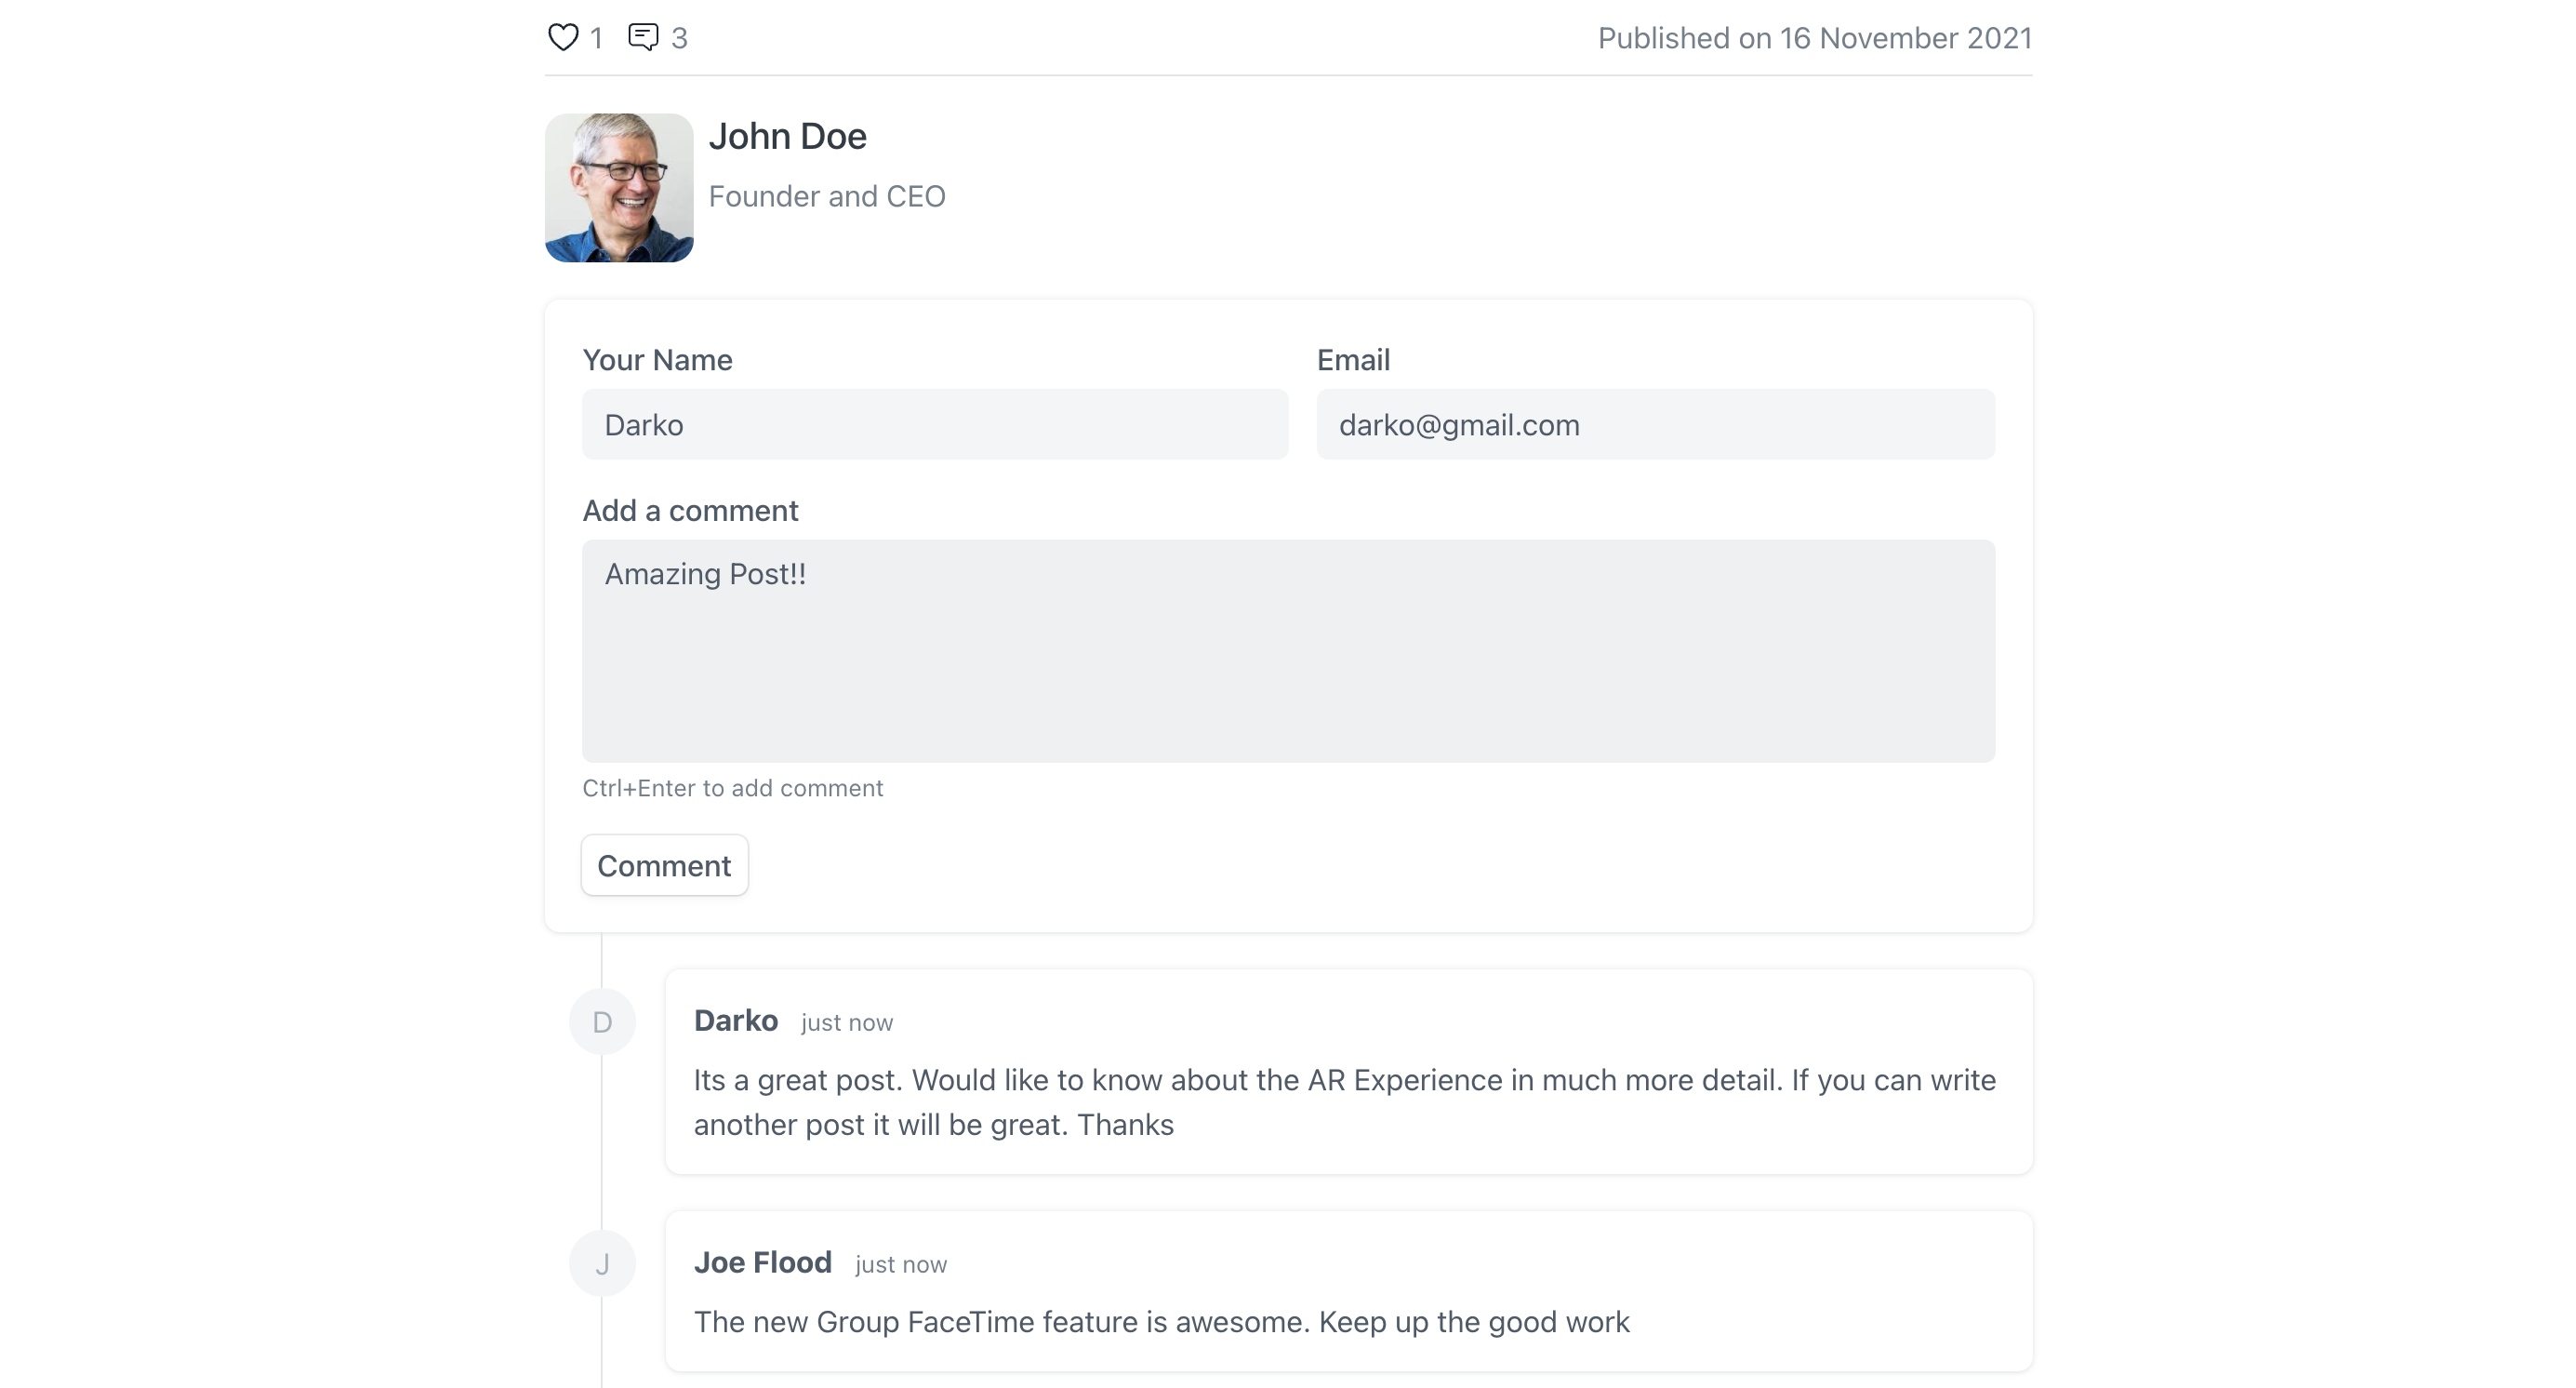
Check the Disable Comments option if you'd like to disable the ability for readers to add comments to the current blog post.

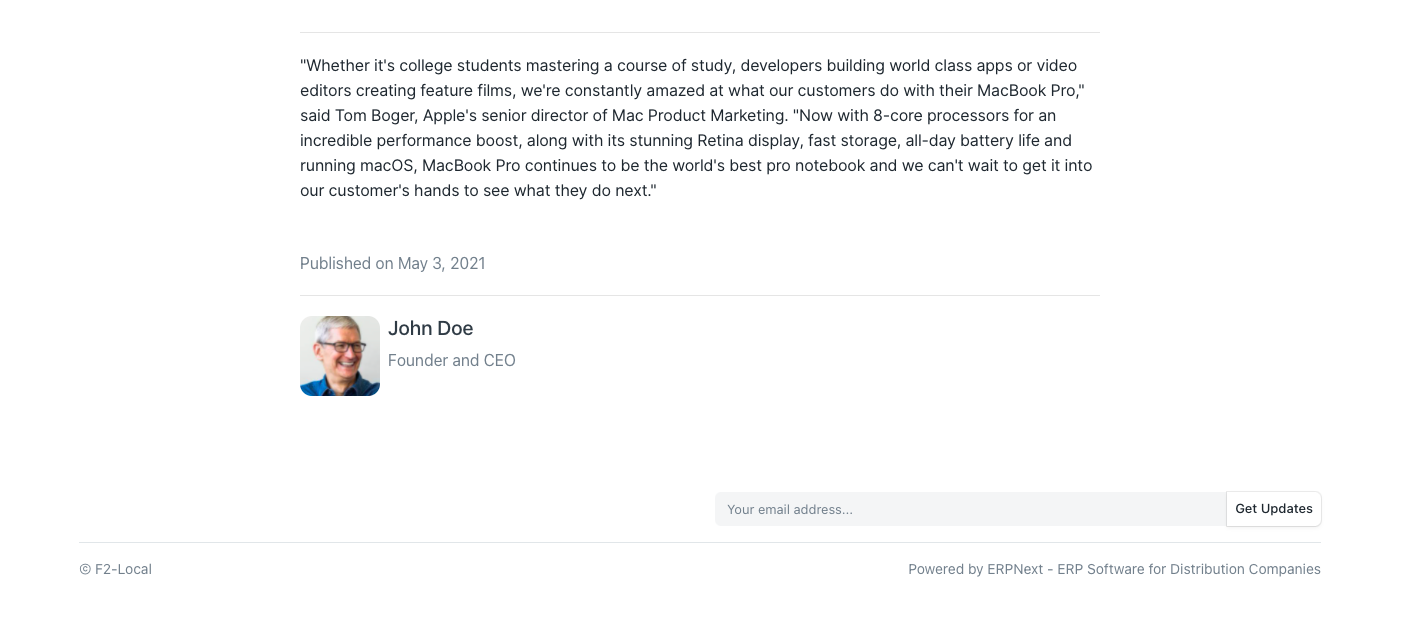 Adding Comments Disabled
Readers can give likes on their favorite blog posts.

 Like
Like
Check the Disable Likes option if you'd like to disable the ability for readers to give like to the current blog post.

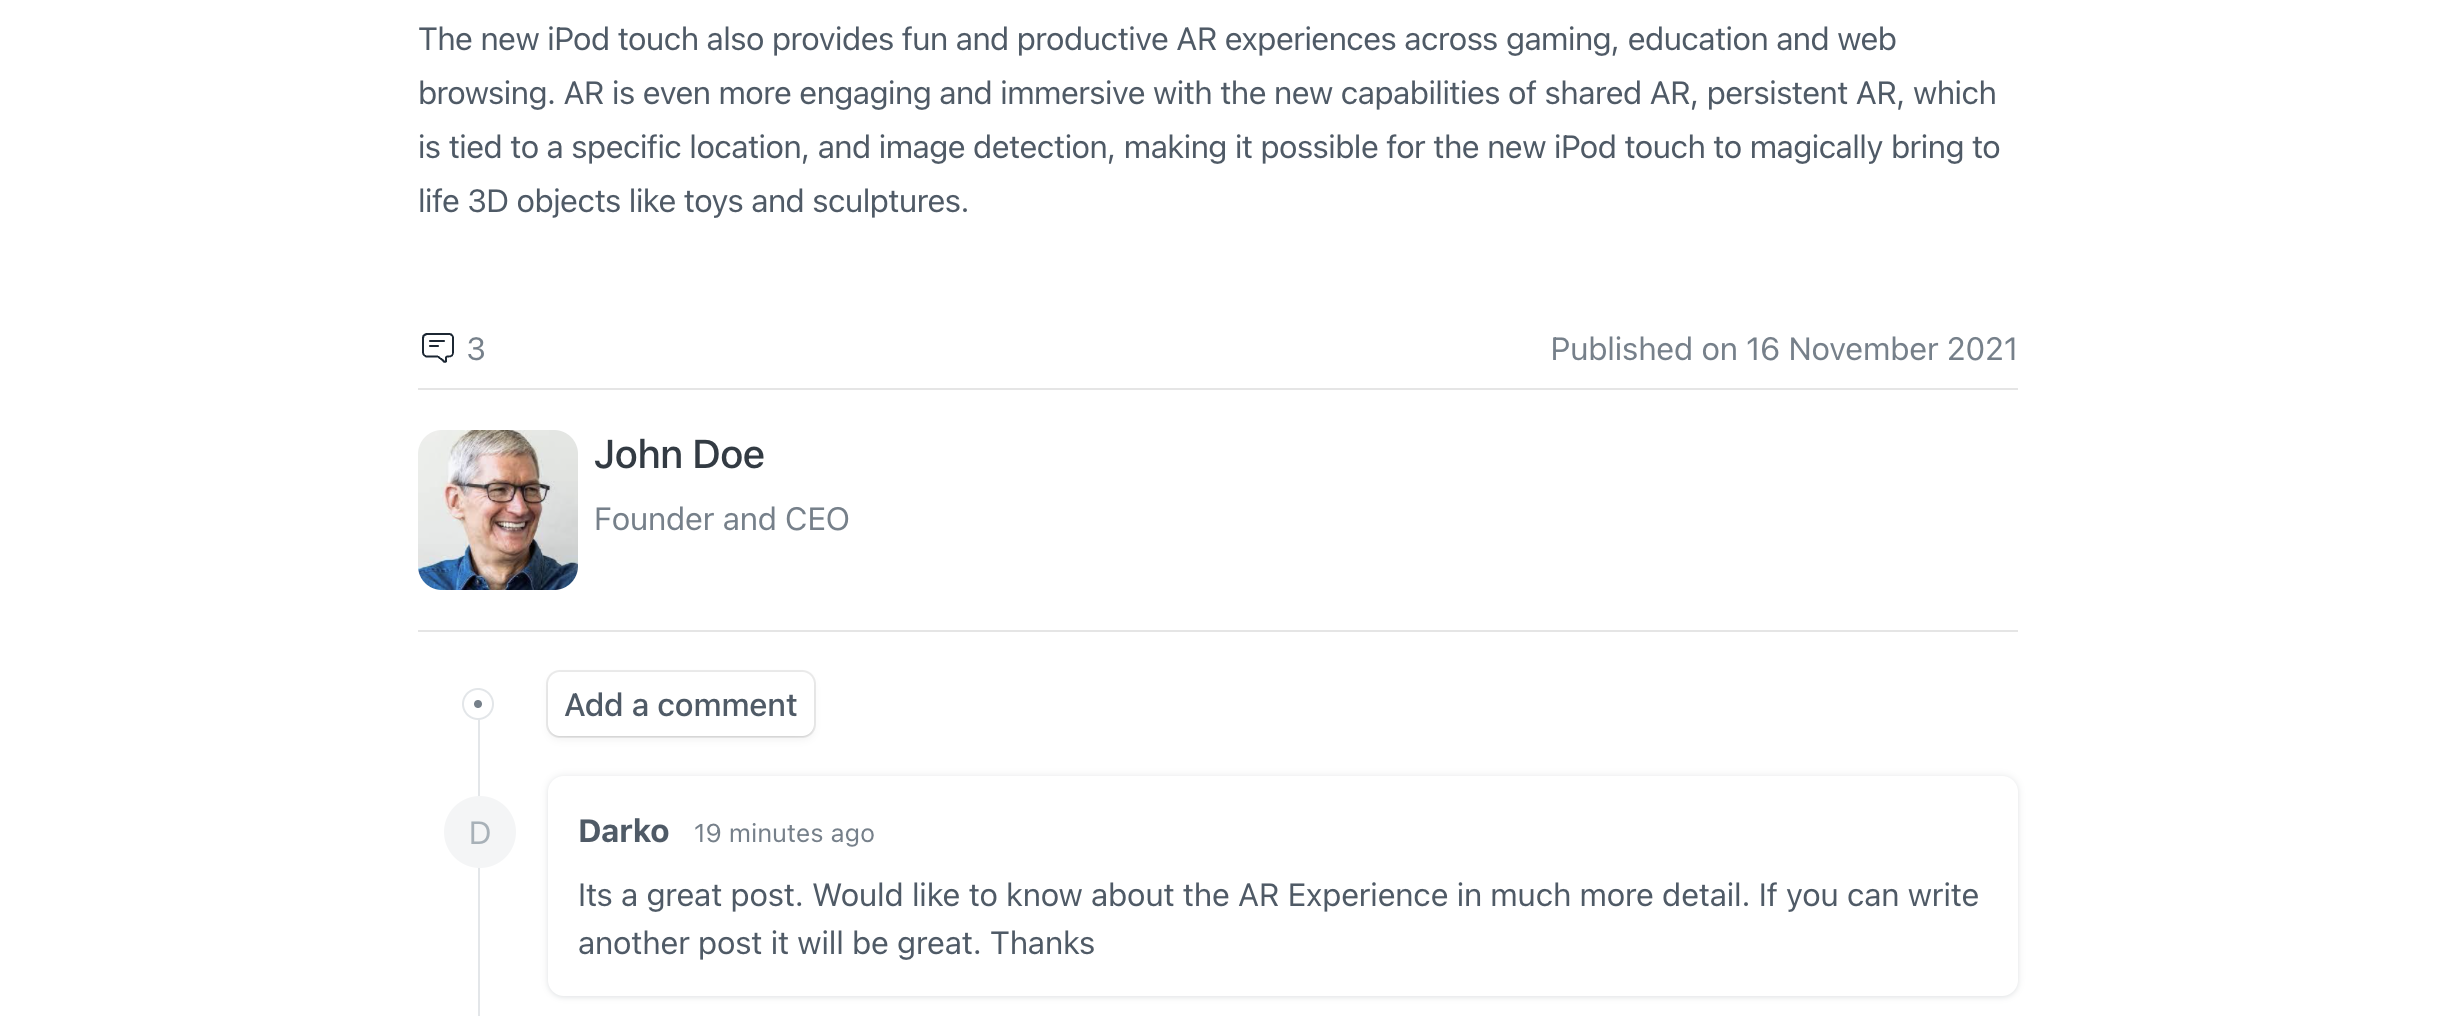
When a reader comments on a blog post or gives a like, an email is sent to the blogger with a link to the comment/like on the blog post.
If the blogger doesn't want to receive any email he/can uncheck the Enable Email Notification checkbox.

2. Features
2.1 Blogger
Blogger is a user who can post blogs. To create a Blogger, go to:
Home > Website > Blog > Blogger
You can mention a short bio about the blogger and also set an avatar here.
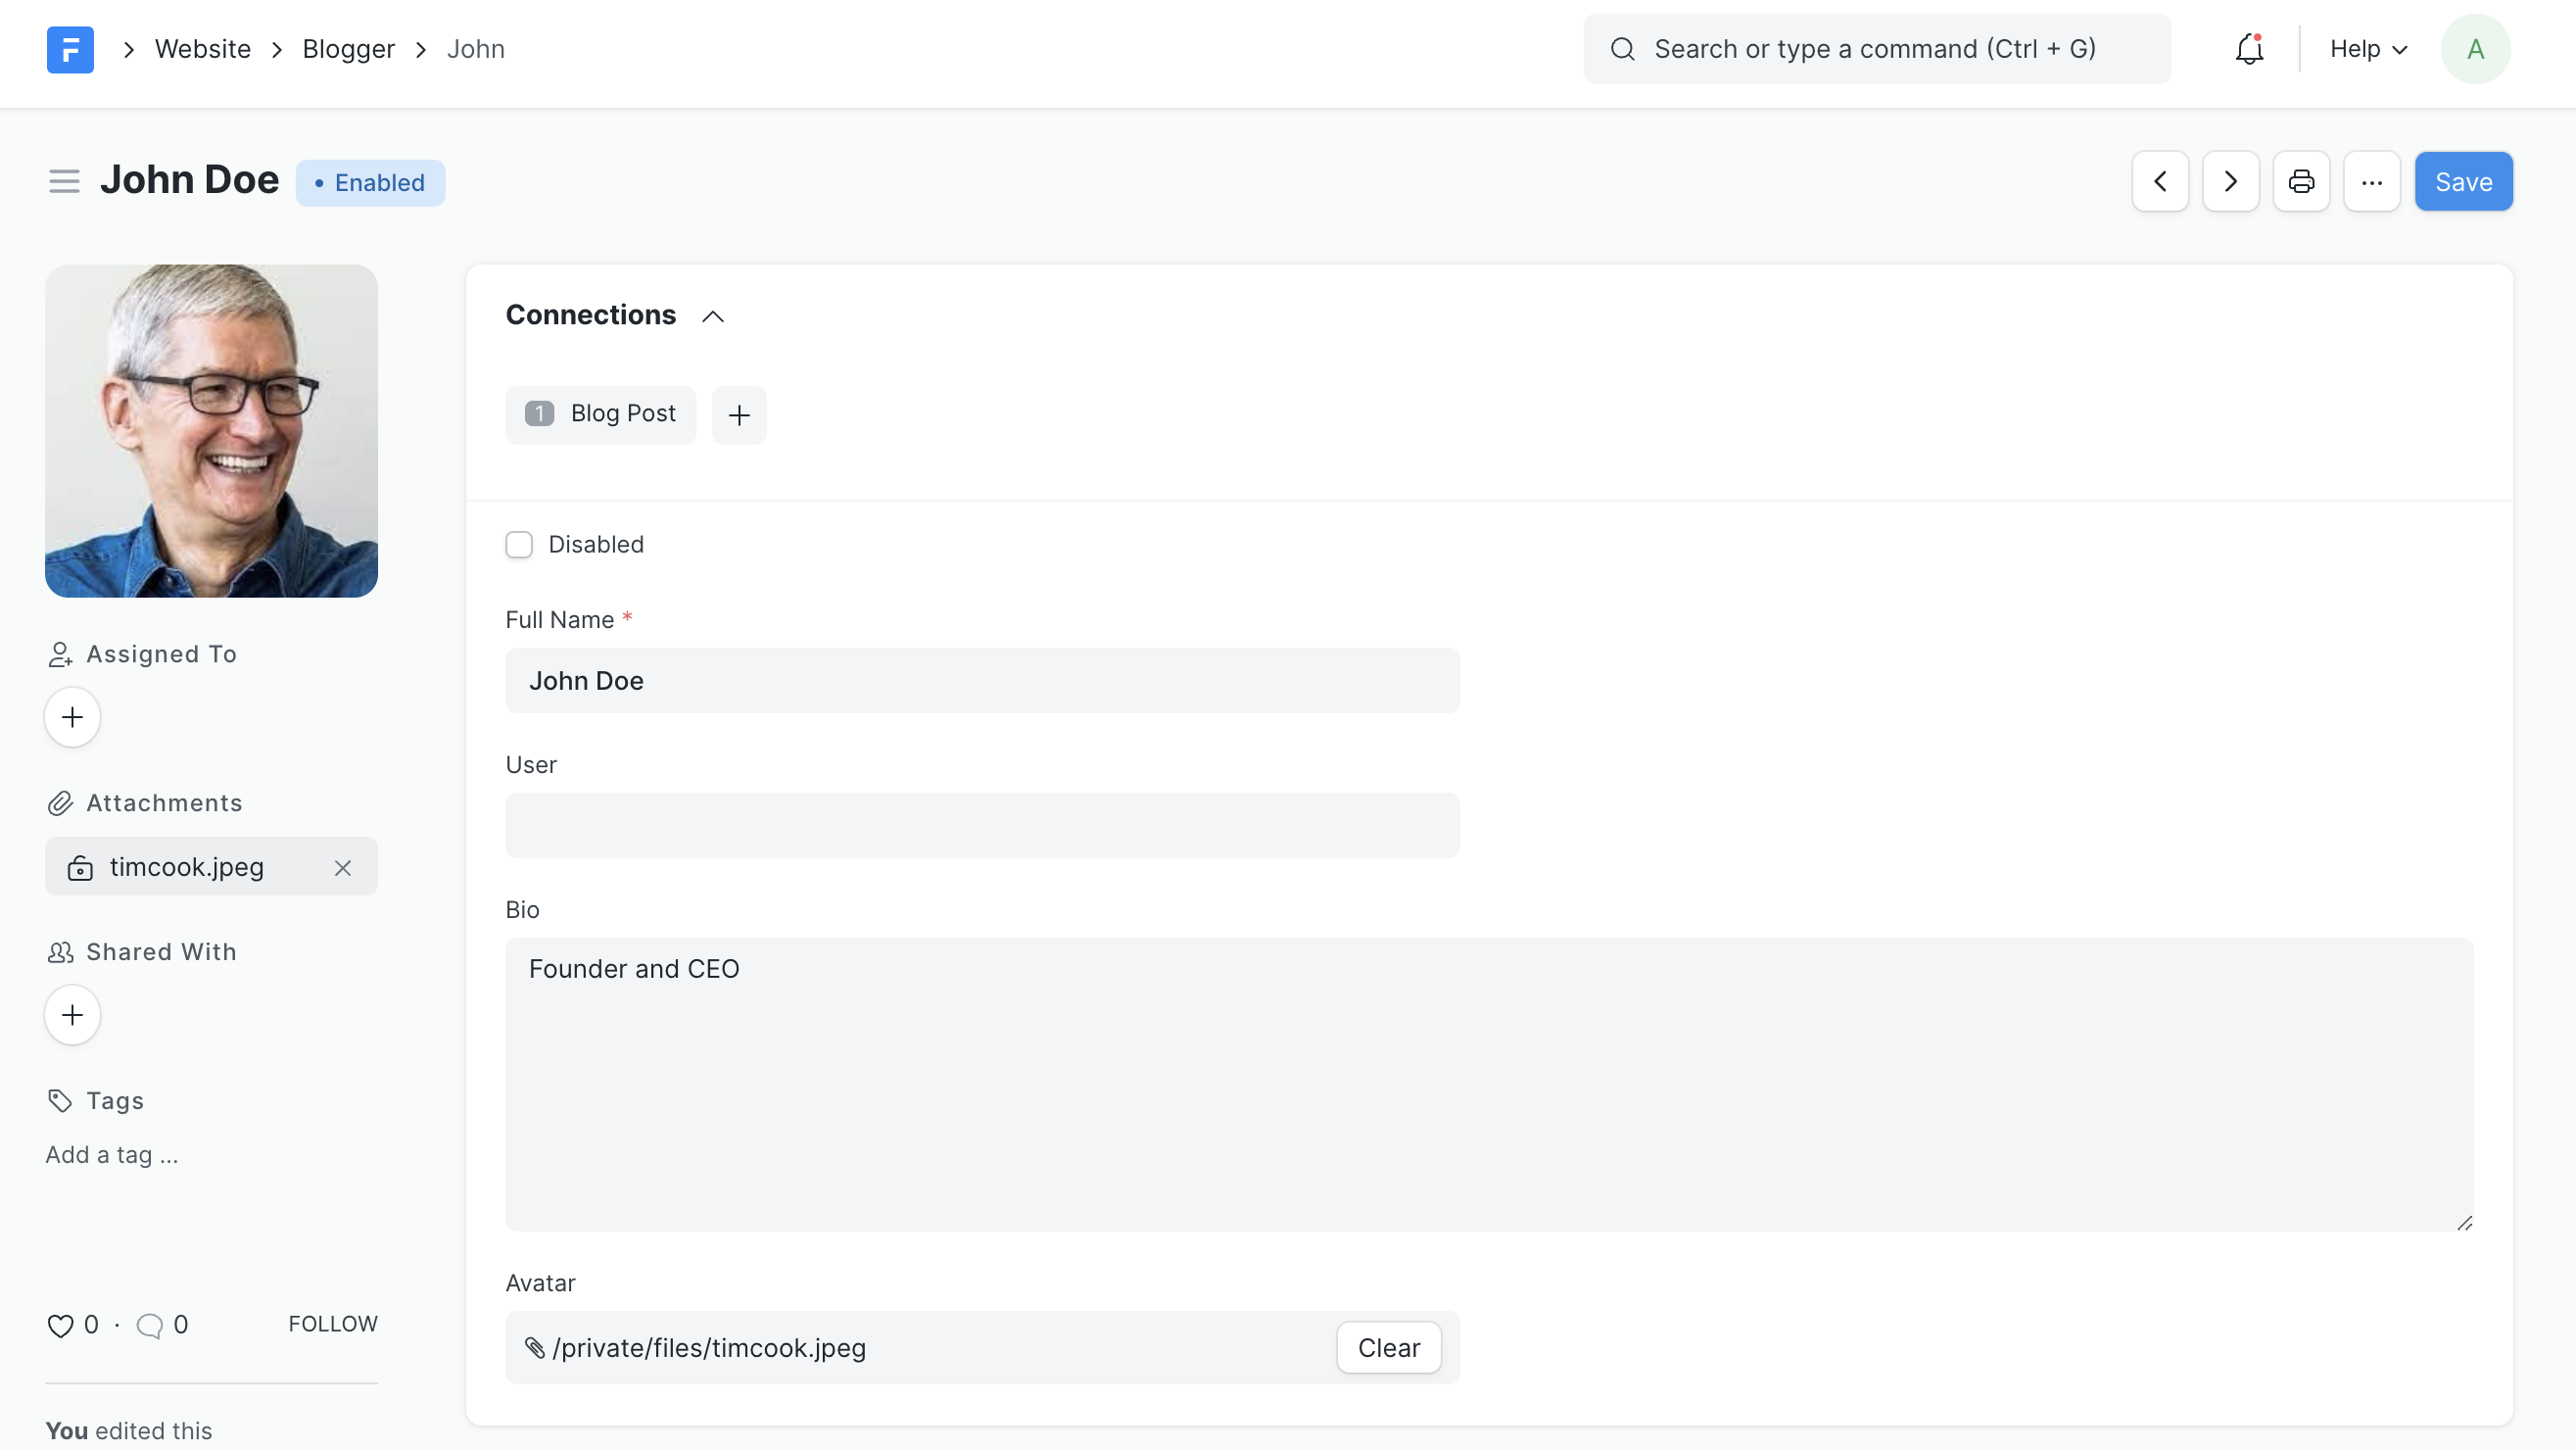 Blogger
The preview will be shown at the end of the blog post.
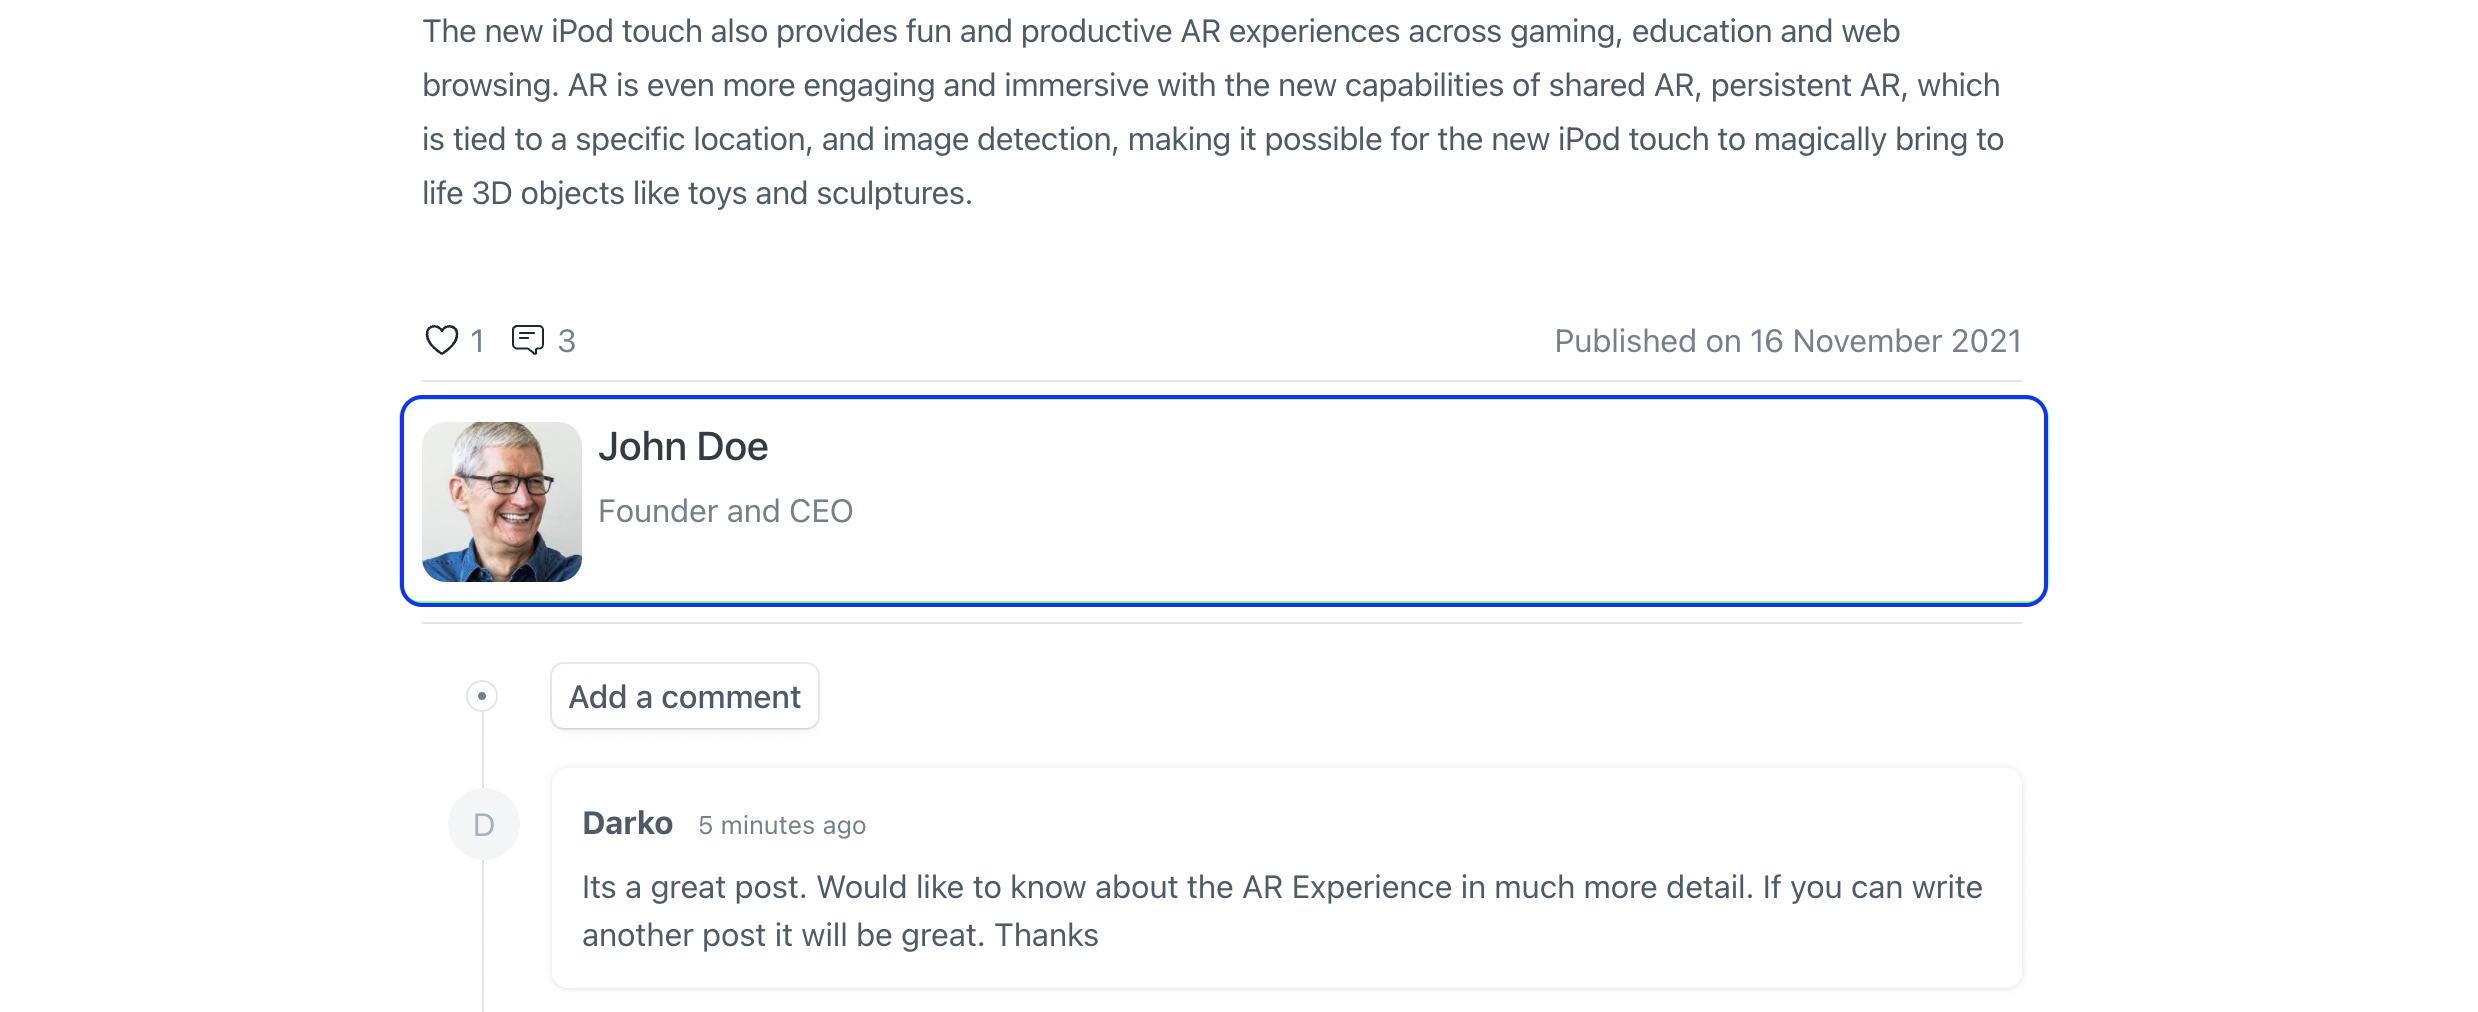 Blogger Preview
2.2 Blog Category
You can group your blogs into categories. To create a new Blog Category, go to:
Home > Website > Blog > Blog Category.
 Blog Category
If you click on See on Website in the sidebar, you'll be redirected to a list of blogs under that category.
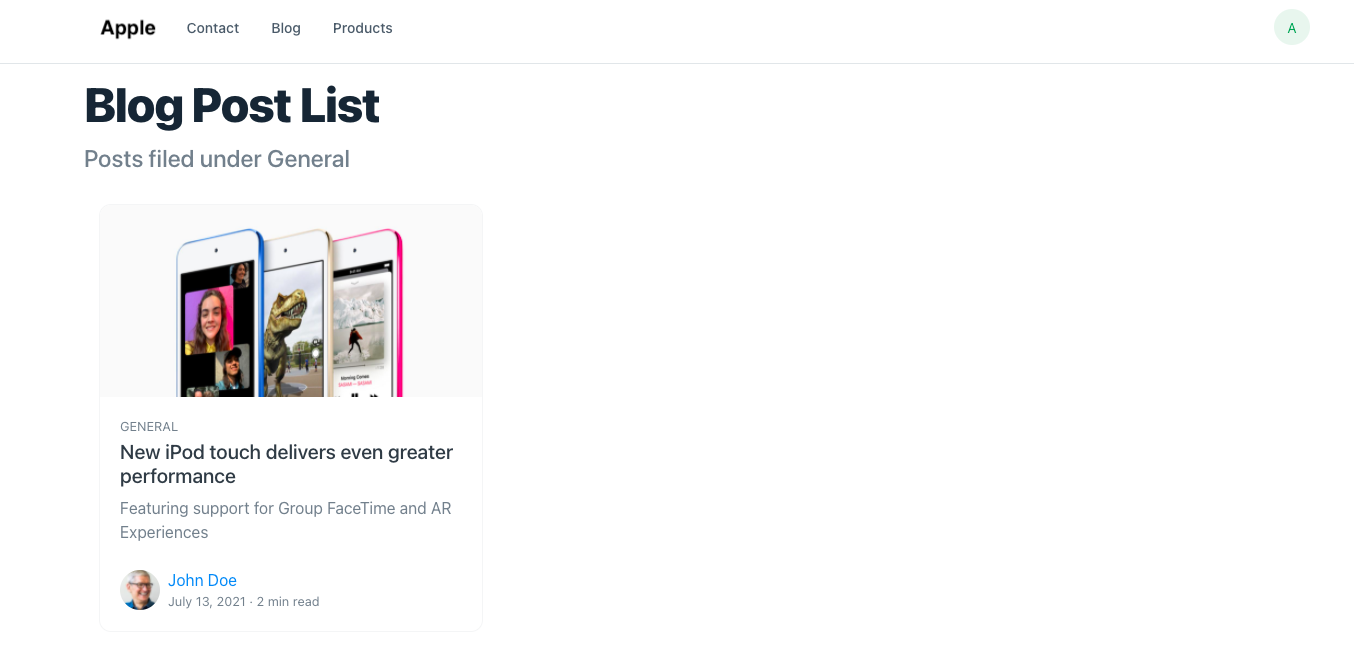 Blog Category - General
2.3 Meta Tags
Meta tags are HTML tags which describe a page and its content to a search engine or a social media platform. A meta description provides a brief description of a webpage.
In HTML, the meta description tag will be written as follows:
Under the SEO section, you can add the meta description and image for your blog post. ERPNext will generate a preview of the blog when listed as a search result by Google.
If you leave this section empty, the blog introduction or the first 140 characters of the blog will be shown as the meta description. In the same way, if you leave the meta image empty, the first image in the blog will be selected.
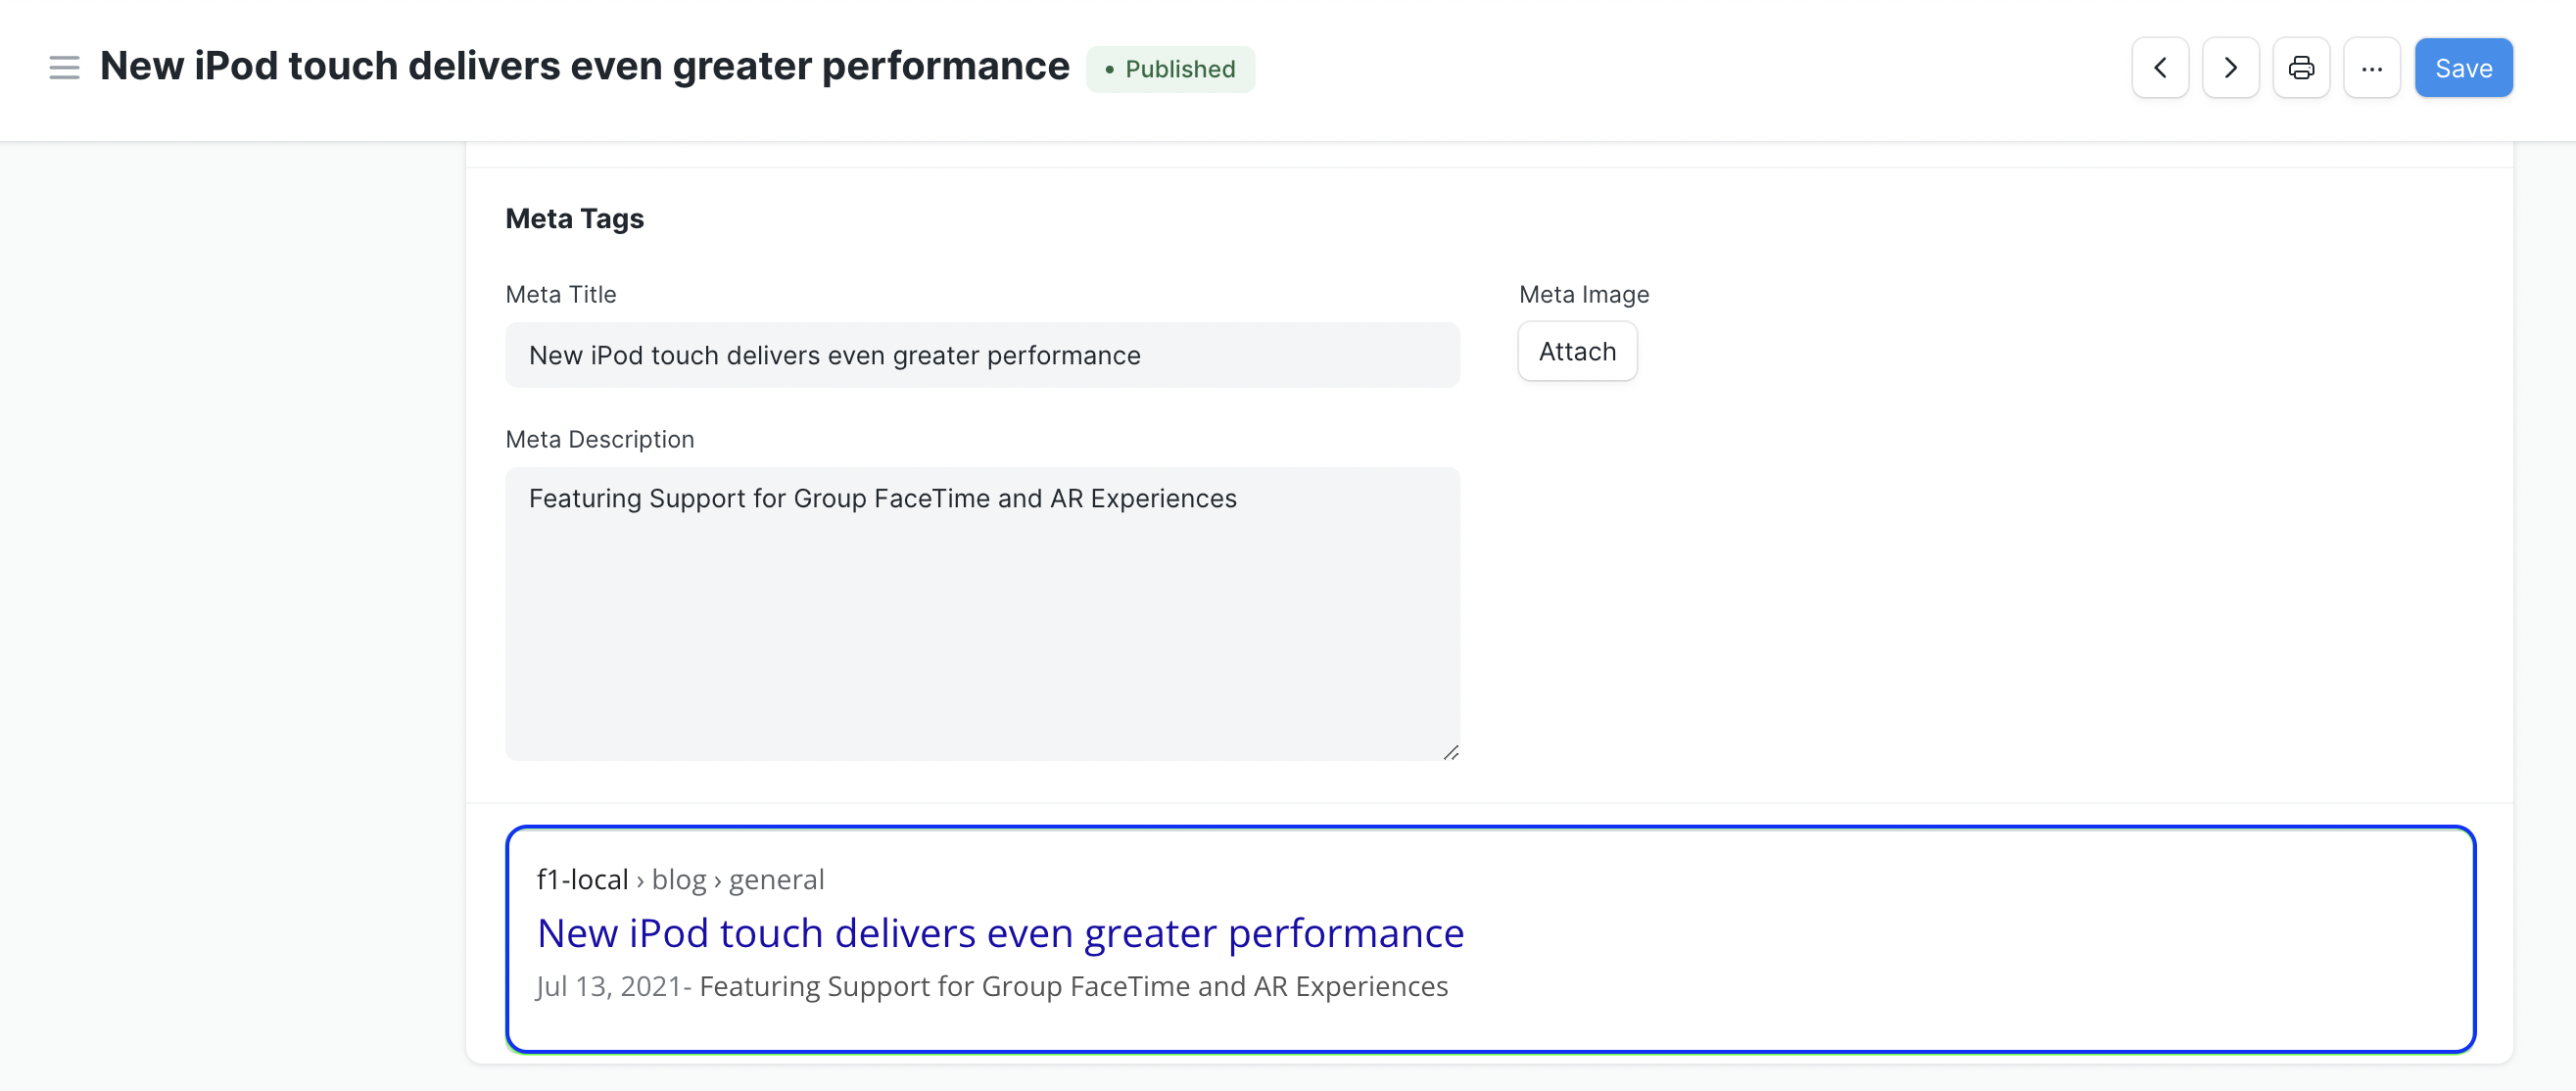 Blog Post Google Search Preview
On submitting the blog, you can also preview how the blog will look when shared on a social media platform like Facebook or Twitter. To check this, use the debugging tools offered by the platforms:
Facebook: Sharing Debugger
Twitter: Card Validator
LinkedIn: Post Inspector
To check the post preview, simply enter the webpage/blog link in the tool:
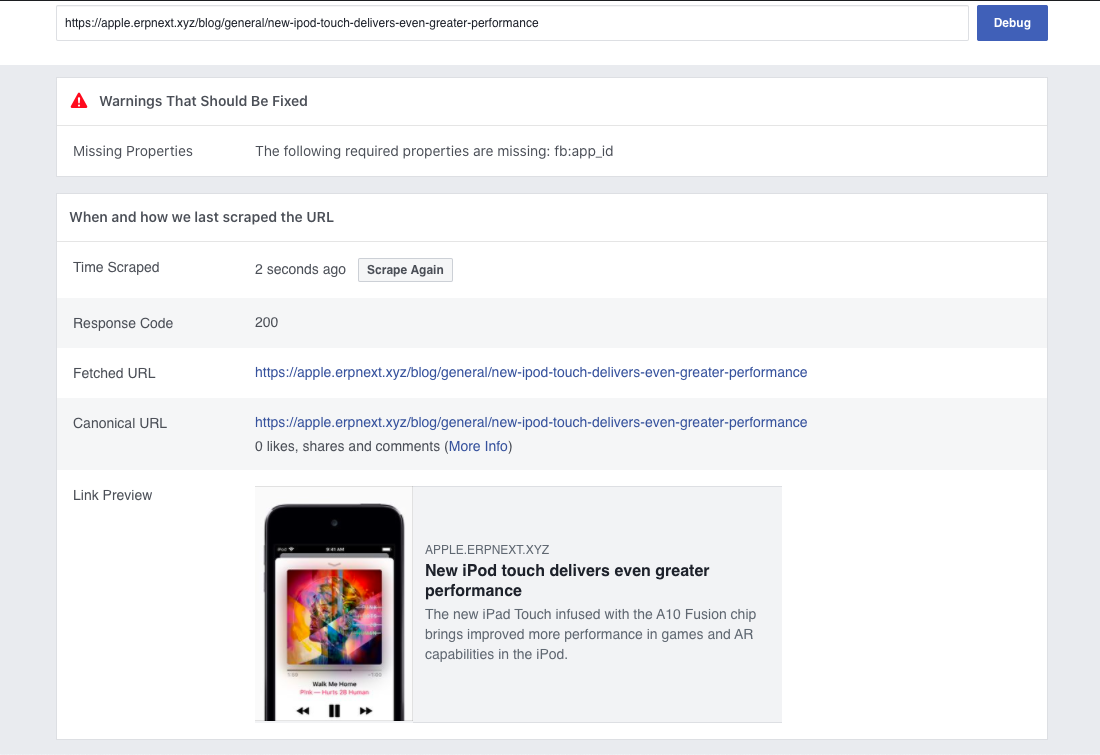 Using Facebook's Sharing Debugger Tool
Using these tools, you can optimize your blog post for sharing.