How To Enable Social Logins
Use Facebook, Google or GitHub authentication to login to Frappe, and your users will be spared from remembering another password.
The system uses the Email Address supplied by these services to match with an existing user in Frappe. If no such user is found, a new user is created of the default type Website User, if Signup is not disabled in Website Settings. Any System Manager can later change the user type from Website User to System User, so that the user can access the Desktop.
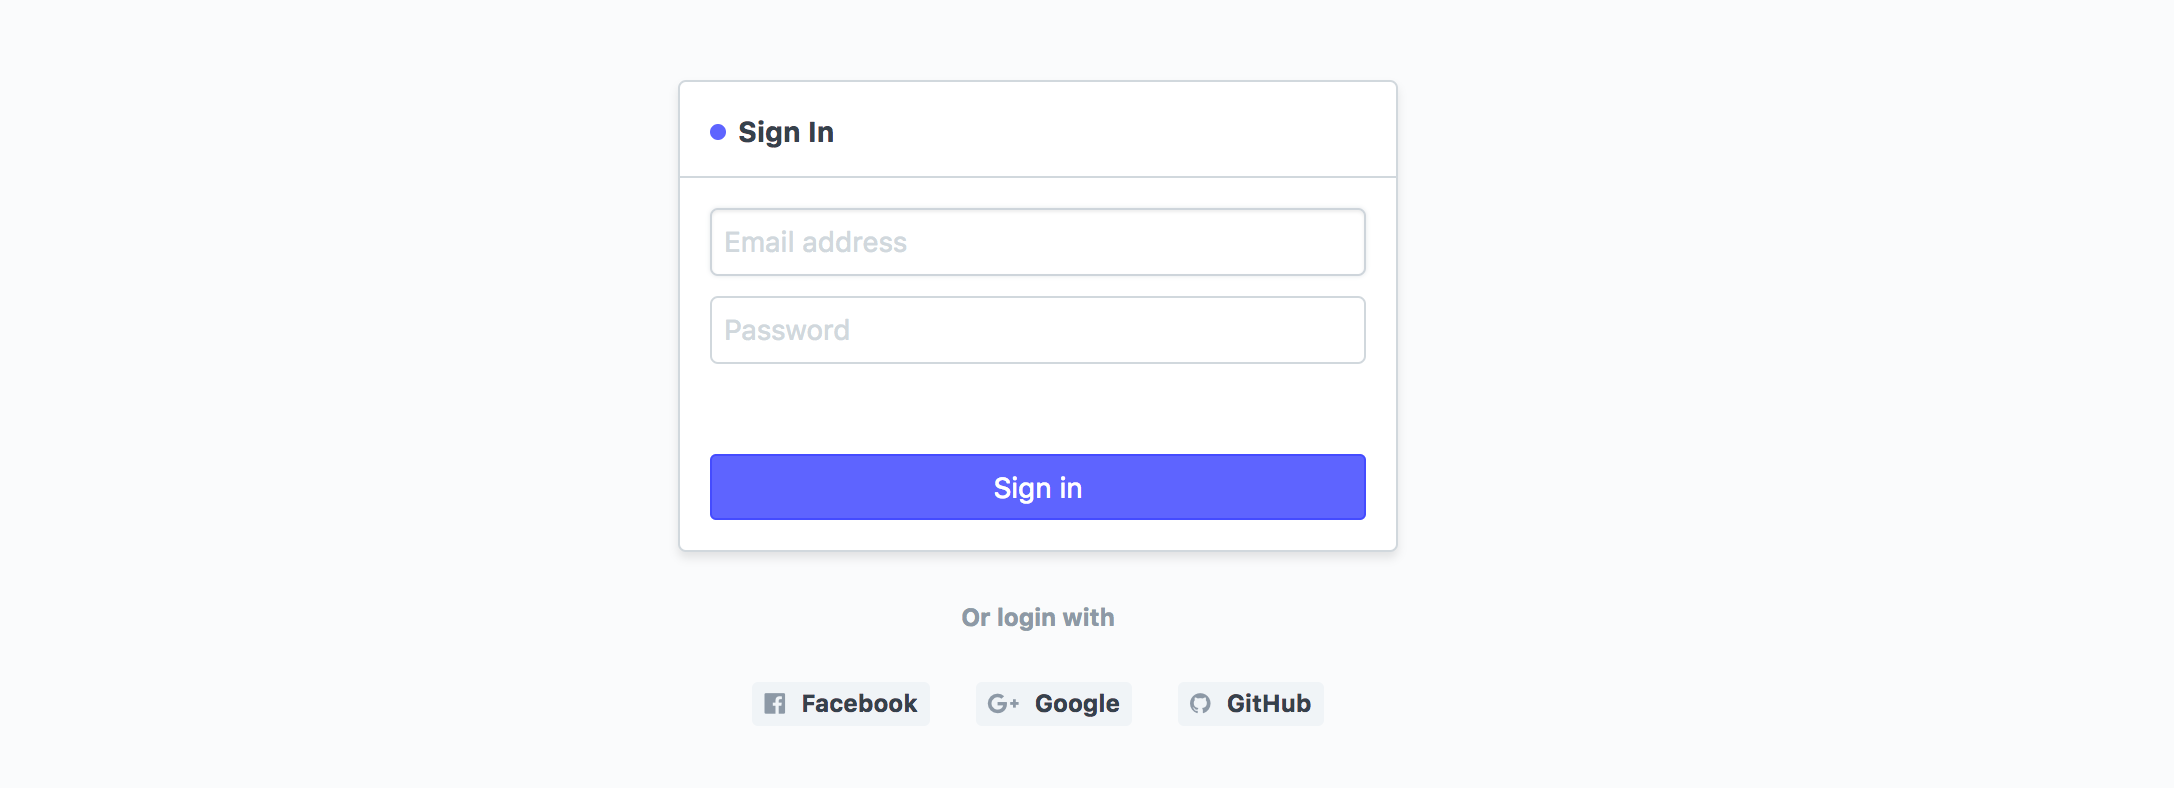
Login screen with Social Logins enabled

To enable these signups, you need to have Client ID and Client Secret from these authentication services for your Frappe site. The Client ID and Client Secret are to be set in Desktop > Integration > Authentication > Social Login Key > Client ID and Desktop > Integration > Authentication > Social Login Key > Client Secret. Here are the steps to obtain these credentials.
> Use https://{{ yoursite }} if your site is HTTPS enabled.
Frappe
This is assuming you have two 2 sites built on Frappe Framework. Site A is https://sitea.com and Site B is https://siteb.com. You want to use https://sitea.com as the login provider and setup Social Login on https://siteb.com to login via https://sitea.com.
- Go to
https://sitea.comwhich is the login provider - Go to OAuth Client list
- Create a new OAuth Client
- Enter the App Name (Something that identifies Site B)
- In Redirect URIs and Default Redirect URI enter
https://siteb.com/api/method/frappe.www.login.login_via_frappe - After you save the document, App Client ID and App Client Secret will be generated
- Go to
https://siteb.comwhere you want to setup Social Login - Go to Social Login Key and create a new one
- Enter Client ID and Client Secret obtained in step 6
- Select Social Login Provider as Frappe
- Enter
https://sitea.comas Base URL and then save the document.
- Go to https://developers.facebook.com
- Click on Apps (topbar) > New App, fill in the form.
- Go to Settings > Basic, set the Contact Email and save the changes.
- Go to Settings > Advanced, find the field Valid OAuth redirect URIs, and enter: http://{{ yoursite }}/api/method/frappe.www.login.login_via_facebook
- Save the changes in Advance tab.
- Go to Status & Review and switch on "Do you want to make this app and all its live features available to the general public?"
- Go to Dashboard, click on the show button besides App Secret, and copy the App ID and App Secret into Desktop > Integration > Authentication > Social Login Key > Client ID and Desktop > Integration > Authentication > Social Login Key > Client Secret
- Go to https://console.developers.google.com
- Create a new Project and fill in the form.
- Click on APIs & Auth > Credentials > Create new Client ID
- Fill the form with:
- Web Application
- Authorized JavaScript origins as http://{{ yoursite }}
- Authorized redirect URI as http://{{ yoursite }}/api/method/frappe.www.login.login_via_google
- Go to the section Client ID for web application and copy the Client ID and Client Secret into Desktop > Integration > Authentication > Social Login Key > Client ID
GitHub
- Go to https://github.com/settings/applications
- Click on Register new application
- Fill the form with:
- Homepage URL as http://{{ yoursite }}
- Authorization callback URL as http://{{ yoursite }}/api/method/frappe.www.login.login_via_github
- Click on Register application.
- Copy the generated Client ID and Client Secret into Desktop > Website > Setup > Social Login Keys and Desktop > Integration > Authentication > Social Login Key > Client Secret
Office 365
- Go to https://portal.azure.com
- Create a new Azure Active Directory > App Registration.
- Click on New Application Registration
- Fill the form with:
- Application Name
- Select Accounts in any organizational directory (Any Azure AD directory - Multitenant).
- Application Type - Web app / API
- Redirect URI as
- Homepage URL as http://{{ yoursite }}
- Authorization callback URL as http://{{ yoursite }}/api/method/frappe.integrations.oauth2logins.loginvia_office365
- Click on Register application.
- Go to the section Overview in Azure Portal copy the Application (client) ID into **Desktop > Integration > Authentication > Social Login Key > Client ID
- Go to the section Certificates & secrets in Azure Portal and create new client secrets copy than copy Client Secret by adding into Desktop > Integration > Authentication > Social Login Key > Client Secret
- Select Office 365 as Social Login Provider
- Click Enable Social Login and Save
- Go to the section Token configuration click add optional claim
- Add Token Type > ID > Email