DocType Features
In the previous chapter, we created the Article doctype. Let's see what other features we can customize.
Naming
If you created a document with the Form, you might have noticed that the name value of the document was a randomly generated hash. Let's make a change so that the Article Name we provide becomes the name of the document.
To do that, open the doctype list from the search bar and click on Article. Now, scroll down to the Naming section and in the Auto Name field enter field:article\_name. Click on Save.
Now, go back to the Article List and create a new article again.
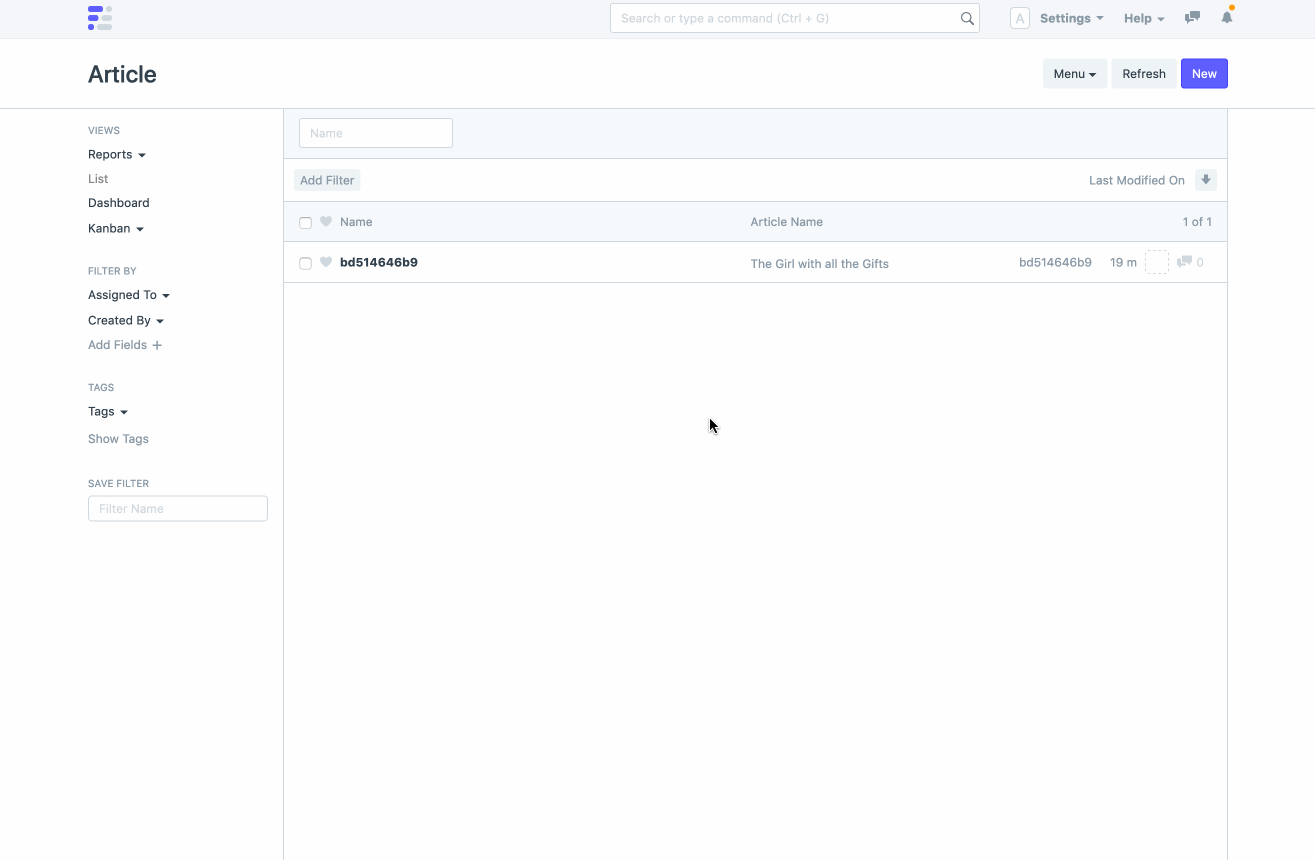
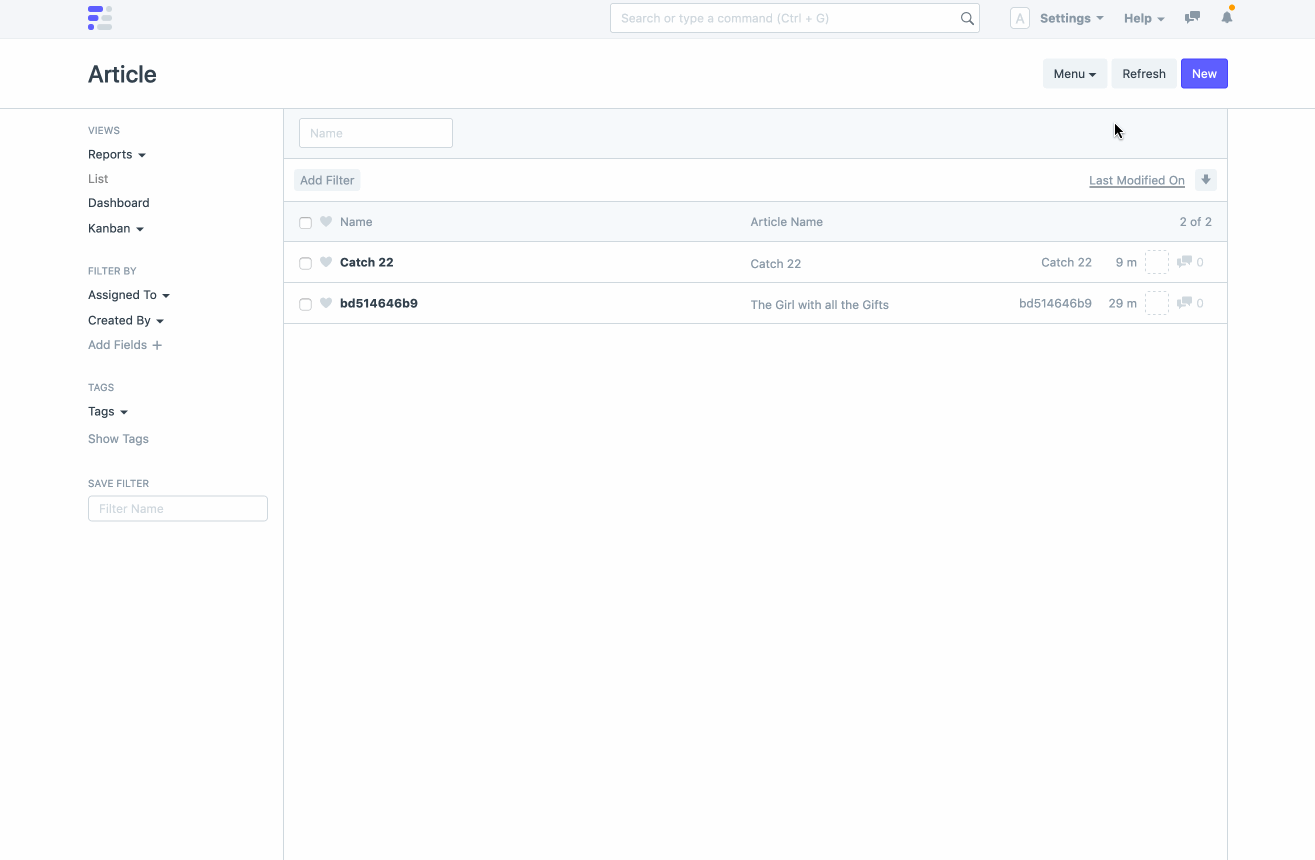
Now, the name of the document will be the Article Name and it must be unique across Articles. So you cannot create another article with the same name.
You can also check the database records by running a select query in the mariadb console.
MariaDB \[\_ad03fa1a016ca1c4\]> select * from tabArticle;

| ------------ | ---------------------------- | ---------------------------- | --------------- | --------------- | ----------- | -------- | ------- |
| name | creation | modified | modified\_by | owner | docstatus | parent | parent
| ------------ | ---------------------------- | ---------------------------- | --------------- | --------------- | ----------- | -------- | ------- |
| bd514646b9 | 2020-10-10 16:24:43.033457 | 2020-10-10 16:24:43.033457 | Administrator | Administrator | 0 | NULL | NULL
| Catch 22 | 2020-10-10 16:41:49.734499 | 2020-10-10 16:41:49.734499 | Administrator | Administrator | 0 | NULL | NULL
| ------------ | ---------------------------- | ---------------------------- | --------------- | --------------- | ----------- | -------- | ------- |
Learn more about various types of DocType Naming.
Form Layout
Let's customize the layout of how the fields are laid out in the form while making good use of the available space. Go to the Article doctype, scroll to the Fields section, and add two new fields of type Column Break and Section Break. We will also hide the Image field as it is not needed to be shown in the form. Check out the GIF to see it in action.
Form Settings
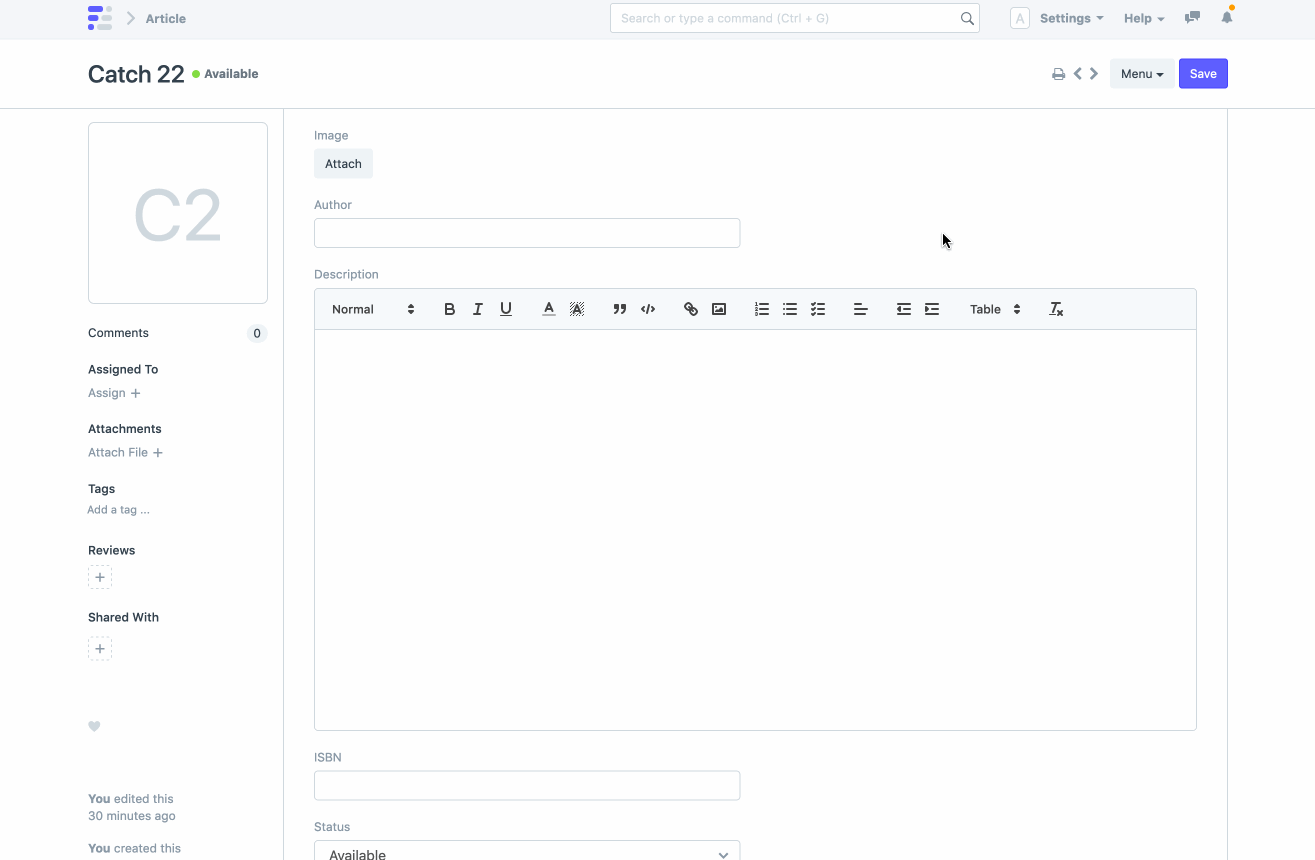
Go to the Article doctype and scroll down to the Form Settings section. Enter image in the Image Field. This will show the image at the left top of the form. You can also enable Allow Rename to allow renaming of documents.
Permissions
You can also configure what roles you want to allow and which actions you want to restrict for a DocType. Go to the Article doctype, scroll down to the Permission Rules section, and add the roles.
You can also configure the type of action that is allowed for a particular role. Let's add a Librarian role that has permission for all actions and a Library Member role that has permission for Read action.
You can test this by creating a new User that has the Librarian role, and another User that has the Library Member role. Login with each user, and see what actions are allowed.
Next: Controller Methods